Broken AC? Here’s a Few Tips to Help Trouble Shoot!
When the scorching summer heat hits, there’s nothing more frustrating than a malfunctioning air conditioning system. A broken AC can lead to discomfort, sleepless nights, and reduced productivity. However, before you call in a professional, there are several troubleshooting steps you can take to identify and possibly fix the issue yourself. In this article, we will provide you with valuable trouble shooting tips to help you get your AC up and running again.
- Check the Power Source
The first step in troubleshooting a broken AC is to check the power source. Ensure that the AC unit is properly plugged in and that the power outlet is functioning correctly. Sometimes, a loose connection or a tripped circuit breaker could be the reason behind the AC’s failure to turn on.
- Inspect the Thermostat
A faulty thermostat can often be the culprit behind an AC malfunction. Check if the thermostat is set to the right temperature and mode. You can also try replacing the batteries in the thermostat to rule out any power-related issues.
- Clean or Replace Air Filters
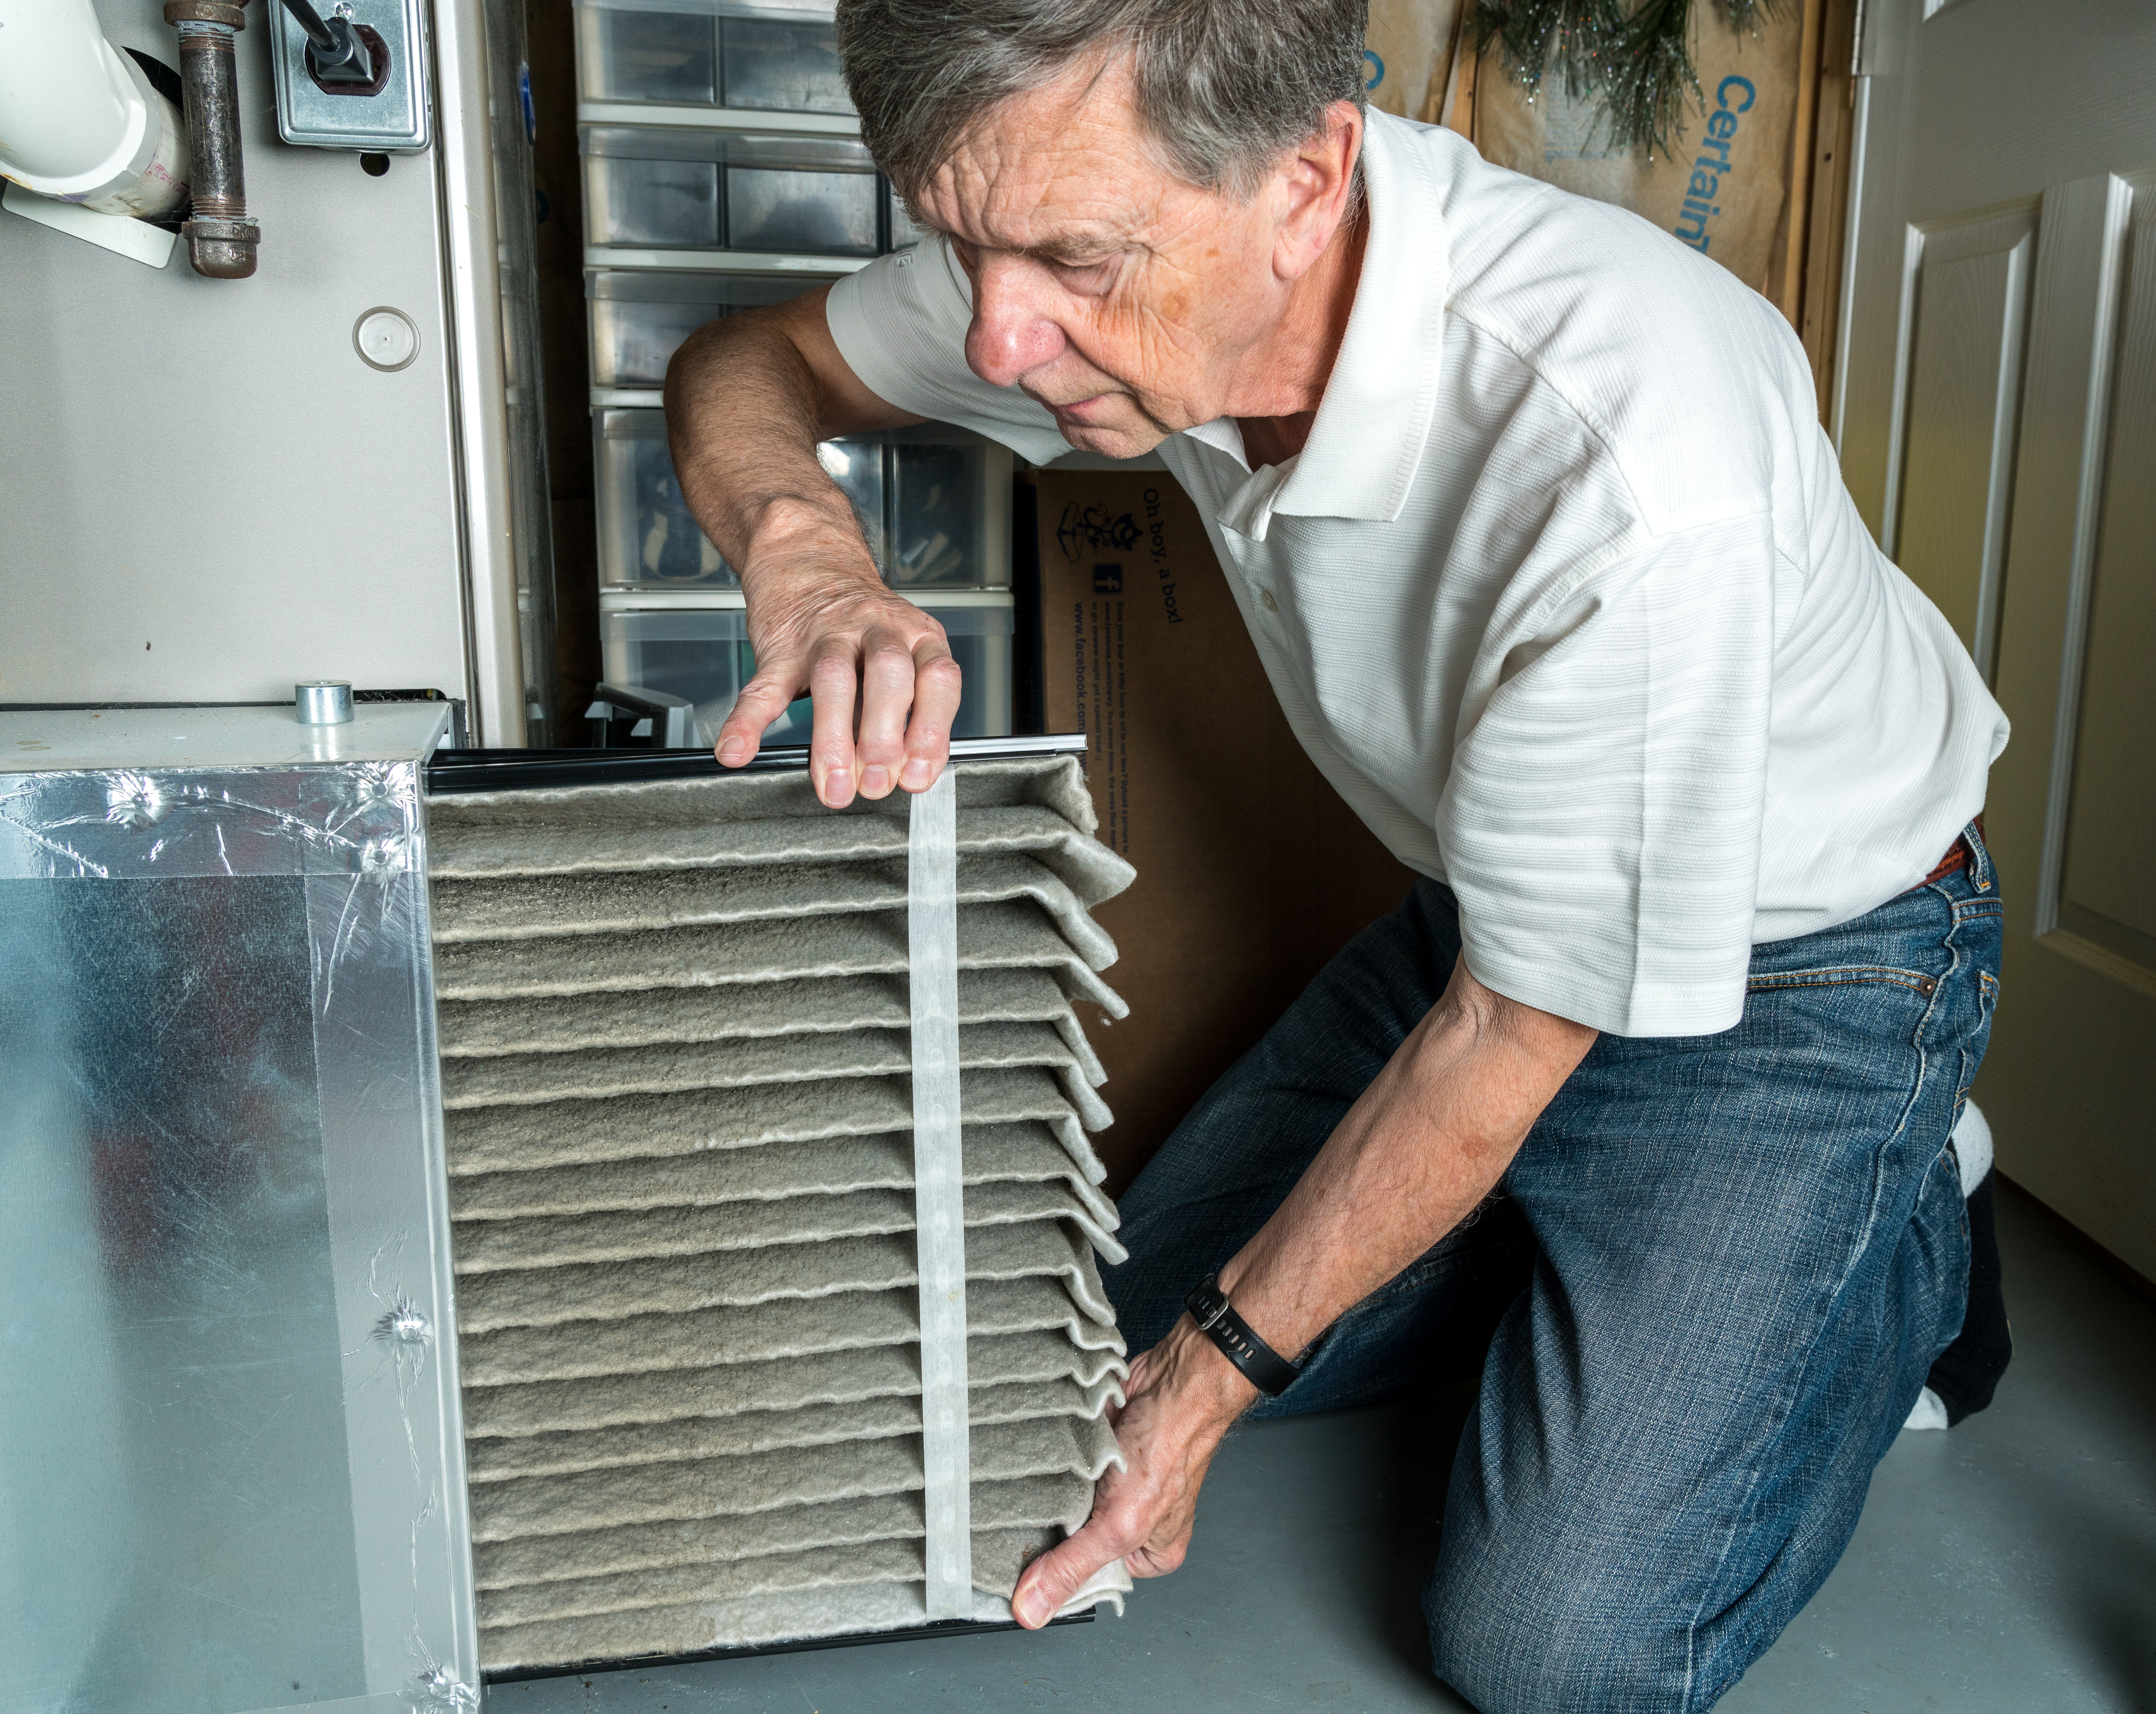
Clogged or dirty air filters can significantly impact your AC’s performance. Check the air filters and clean them if they are dirty. If the filters are too old or damaged, consider replacing them with new ones to ensure optimal airflow.
- Examine the Condenser Unit
The condenser unit is located outside your home, and it plays a crucial role in the cooling process. Make sure the area around the condenser is clear of debris and obstructions. Clean the condenser coils gently with a soft brush to remove any dirt or dust buildup.
- Check for Refrigerant Leaks
Low refrigerant levels can lead to inefficient cooling or even complete AC failure. Look for signs of refrigerant leaks, such as hissing sounds or oily spots near the AC unit. If you suspect a refrigerant leak, it’s essential to call a professional HVAC technician to handle the issue.
- Test the Capacitors
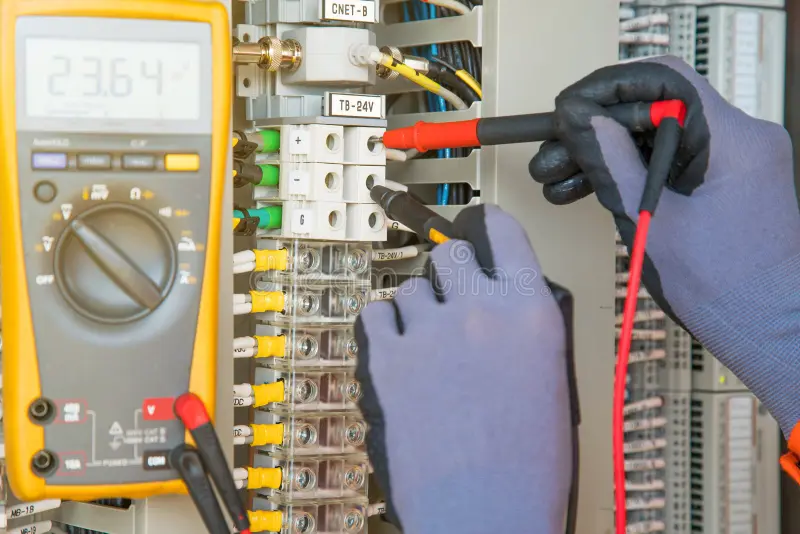
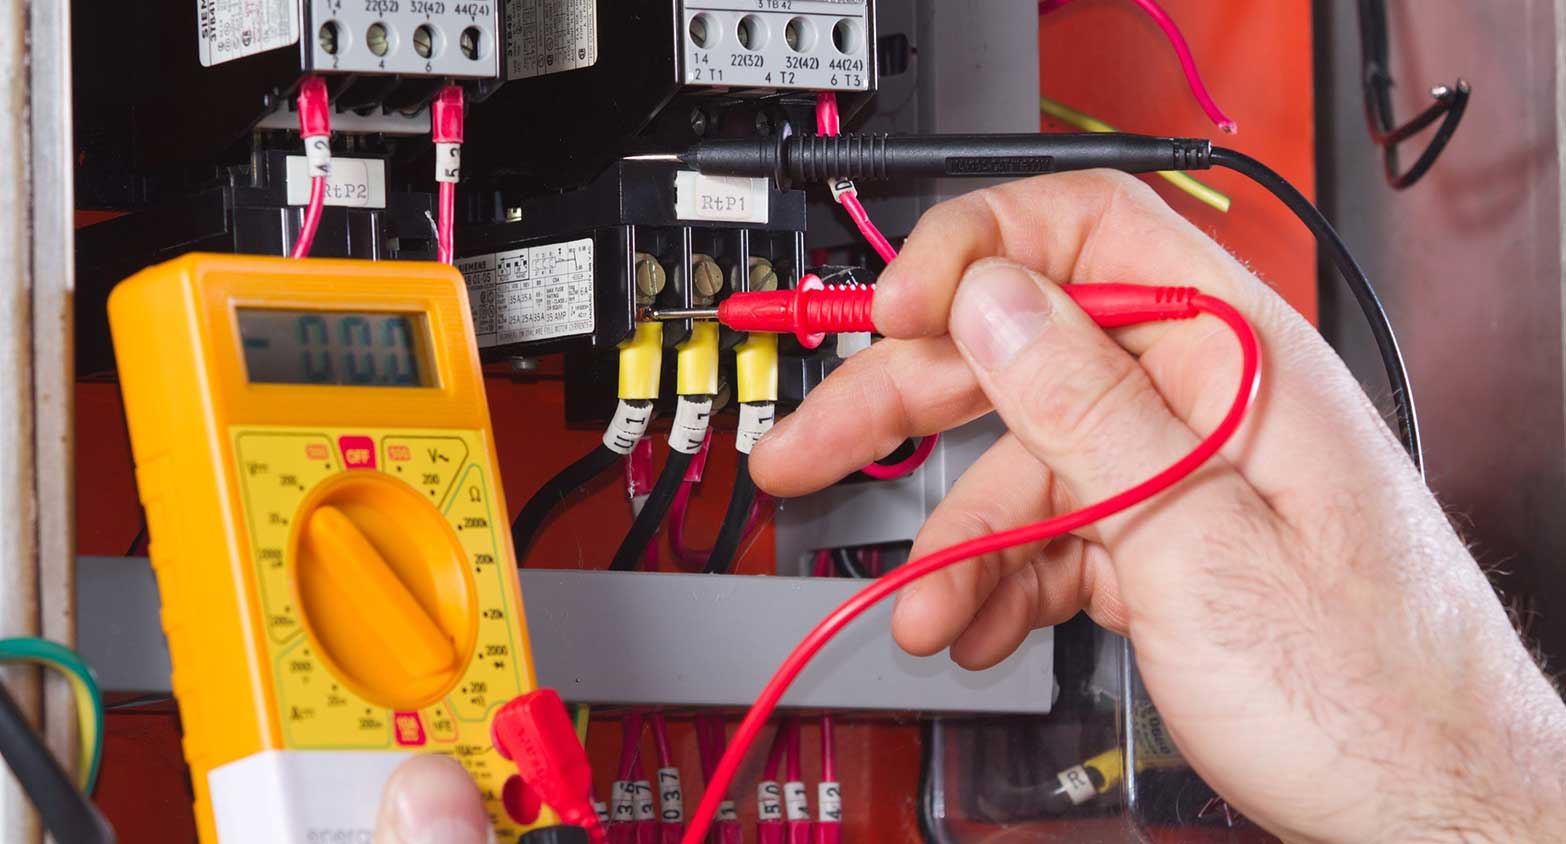
Capacitors are responsible for starting the AC’s motors. If they are faulty, the AC may not start or may struggle to stay on. Use a multimeter to test the capacitors for continuity and replace them if needed.
- Inspect the Fan Motor
The fan motor is essential for proper airflow in the AC unit. Check if the fan motor is running smoothly. A malfunctioning fan motor may require lubrication or replacement to ensure efficient cooling.
- Clean the Evaporator Coils
Dirty evaporator coils can lead to reduced cooling efficiency and frost buildup. Carefully clean the coils using a soft brush and mild detergent to improve the AC’s performance.
- Check the Drainage System
A clogged or blocked drainage system can cause water to leak from the AC. Ensure that the drainpipes and condensate drain pan are clear of any obstructions to prevent water damage.
- Inspect the Compressor
The compressor is the heart of the AC system, and if it’s not functioning correctly, the cooling process will be affected. Listen for unusual noises or vibrations from the compressor and call a professional if you suspect any issues.
- Look for Faulty Wiring
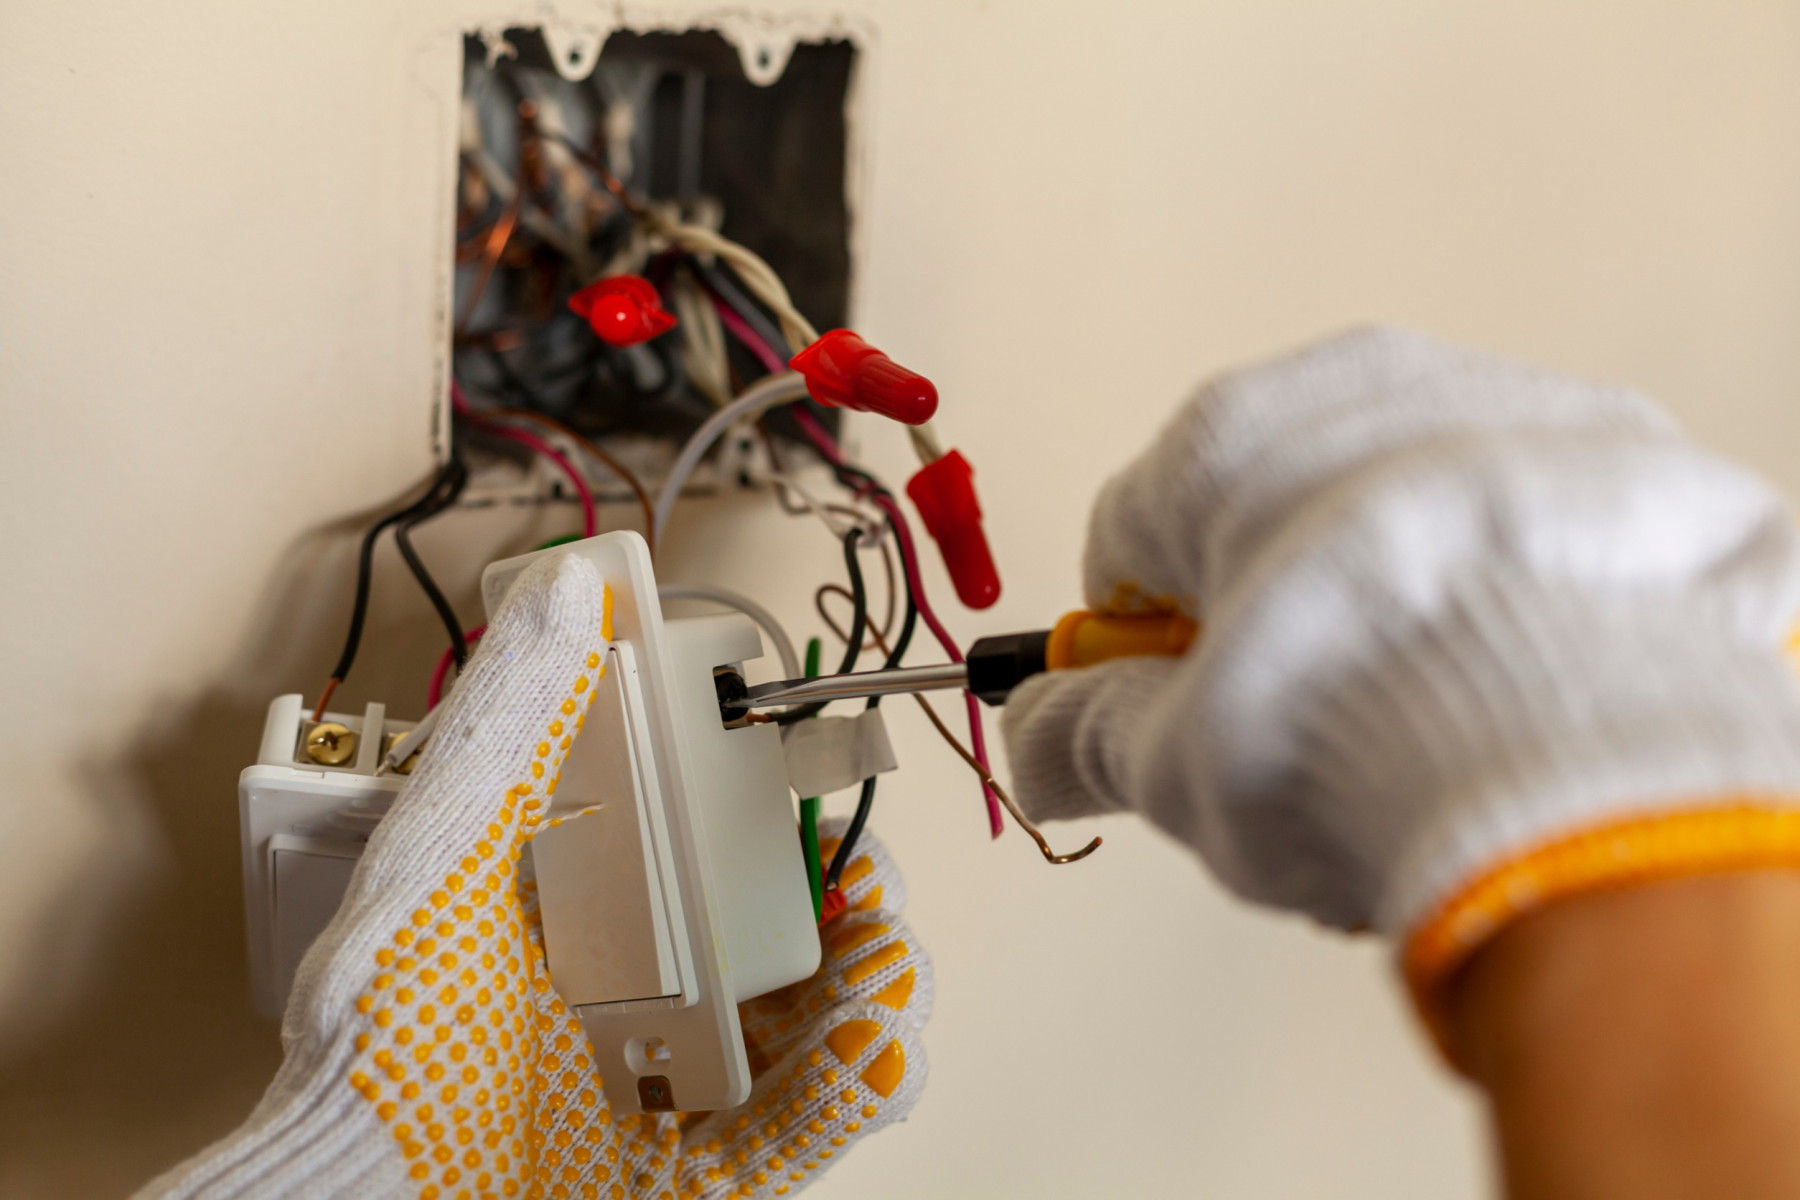
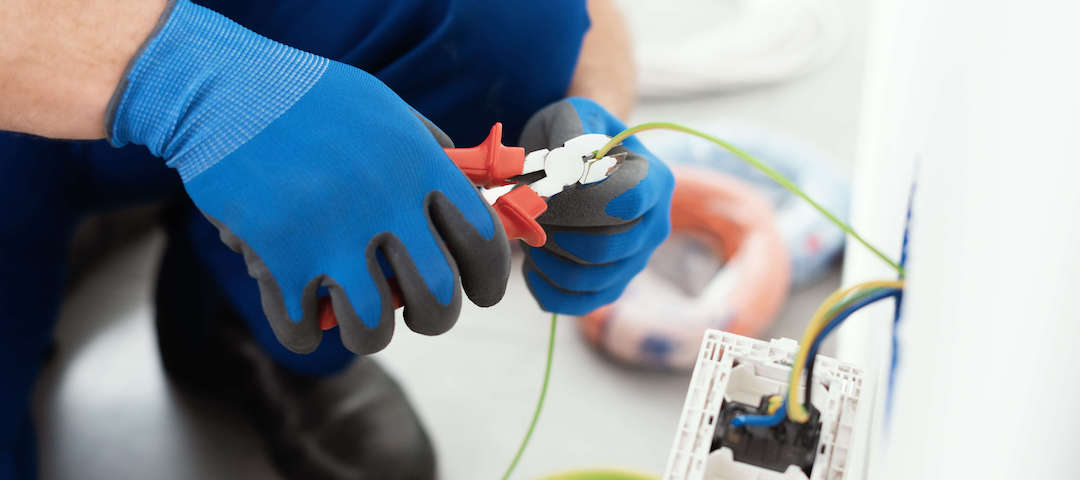
Examine the AC unit’s wiring for any signs of damage or loose connections. Faulty wiring can lead to short circuits and pose a safety hazard. If you’re not familiar with electrical work, it’s best to leave this task to a licensed electrician.
- Clean the Outdoor Unit
If your AC’s outdoor unit is covered in dirt and debris, it can hinder its performance. Regularly clean the outdoor unit to prevent any obstructions and ensure efficient cooling.
- Consider the Age of the AC
Sometimes, a broken AC might be the result of old age and wear and tear. If your AC is more than 10-15 years old, it may be more cost-effective to replace it with a newer, energy-efficient model.
- Schedule Regular Maintenance
Prevention is always better than cure. To avoid unexpected AC breakdowns, schedule regular maintenance with a professional HVAC Technician!
If your unit is aged or not working properly contact Blessed Electric and Air, or call us today to schedule an appointment
214 801-5755
Recent Posts
Common Electrical Problems in Older Fort Worth Homes
Why a Licensed Electrician is Essential for Home Renovations in Burleson
How to Prepare Your Irving Home for an Electrical Inspection
The Importance of Routine Electrical Inspections in Plano
Related Post
January 22 2025
Why Licensed Electricians in Fort Worth Are Vital for Commercial Projects
When it comes to commercial construction and renovation, safety should be given the topmost priority. Usually, the electrical system in a commercial building is much more complicated than in residential properties because it powers extensive lighting, heavy machinery, HVAC systems, and much more. Any mistakes in load distribution, wiring, or installation can lead to power […]
January 21 2025
Why Choose a Licensed Electrician in Arlington TX for Home Repairs?
Every homeowner has that moment of panic. The lights flicker, an outlet sparks, or a strange buzzing sound comes from behind the wall. Most people think, “I can handle this myself,” but here’s a reality check that might just save your home—and your wallet. The Neighborhood Cautionary Tale Walk down any street in Arlington, and […]
January 19 2025
Signs You Need a Licensed Electrician in Carrollton for Troubleshooting
There is no doubt that the electrical system is one of the most complex systems in your house. Though most of us take this system’s functionality and utility for granted, everybody should handle it with utmost care to avoid any problems down the road. In most cases, we ignore the signs that indicate that the […]


