How to Safely Replace Bad Electrical Outlets in Your Home
Replacing faulty electrical outlets in your home might seem like a straightforward DIY project, but it’s important to proceed with caution. Electrical work carries inherent risks, including the potential for shock, fire hazards, and even serious injury if not handled correctly. However, with the right preparation, tools, and safety measures, you can replace a bad electrical outlet safely. For those who are not comfortable undertaking this task or encounter complex issues, professional services like Blessed are avaliable to ensure the job is done safely and efficiently! This article will guide you through replacing a faulty outlet while emphasizing safety.
Identifying a Bad Outlet
First, identify the signs of a bad outlet, which may include a burnt smell, discoloration, sparking, or an outlet that no longer holds a plug securely. If you notice any of these signs, it’s time to consider replacing the outlet.
Safety Precautions
Before attempting to replace an outlet, take the following safety precautions to protect yourself and your home:
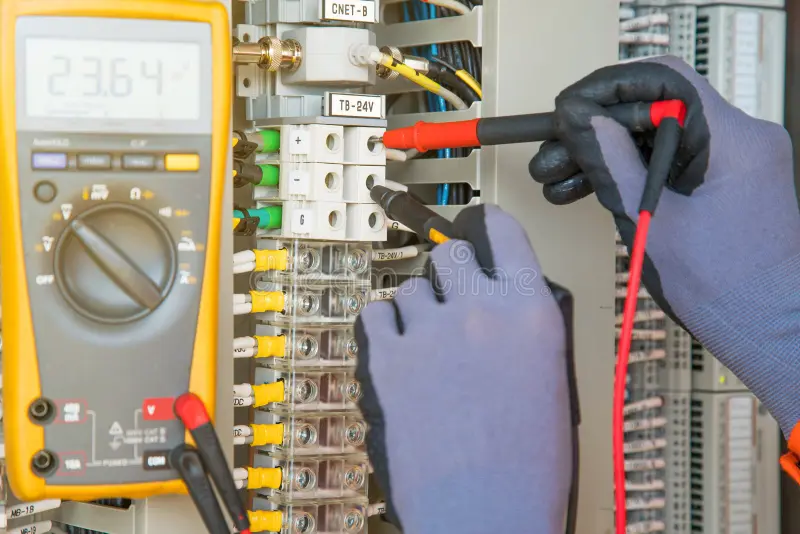
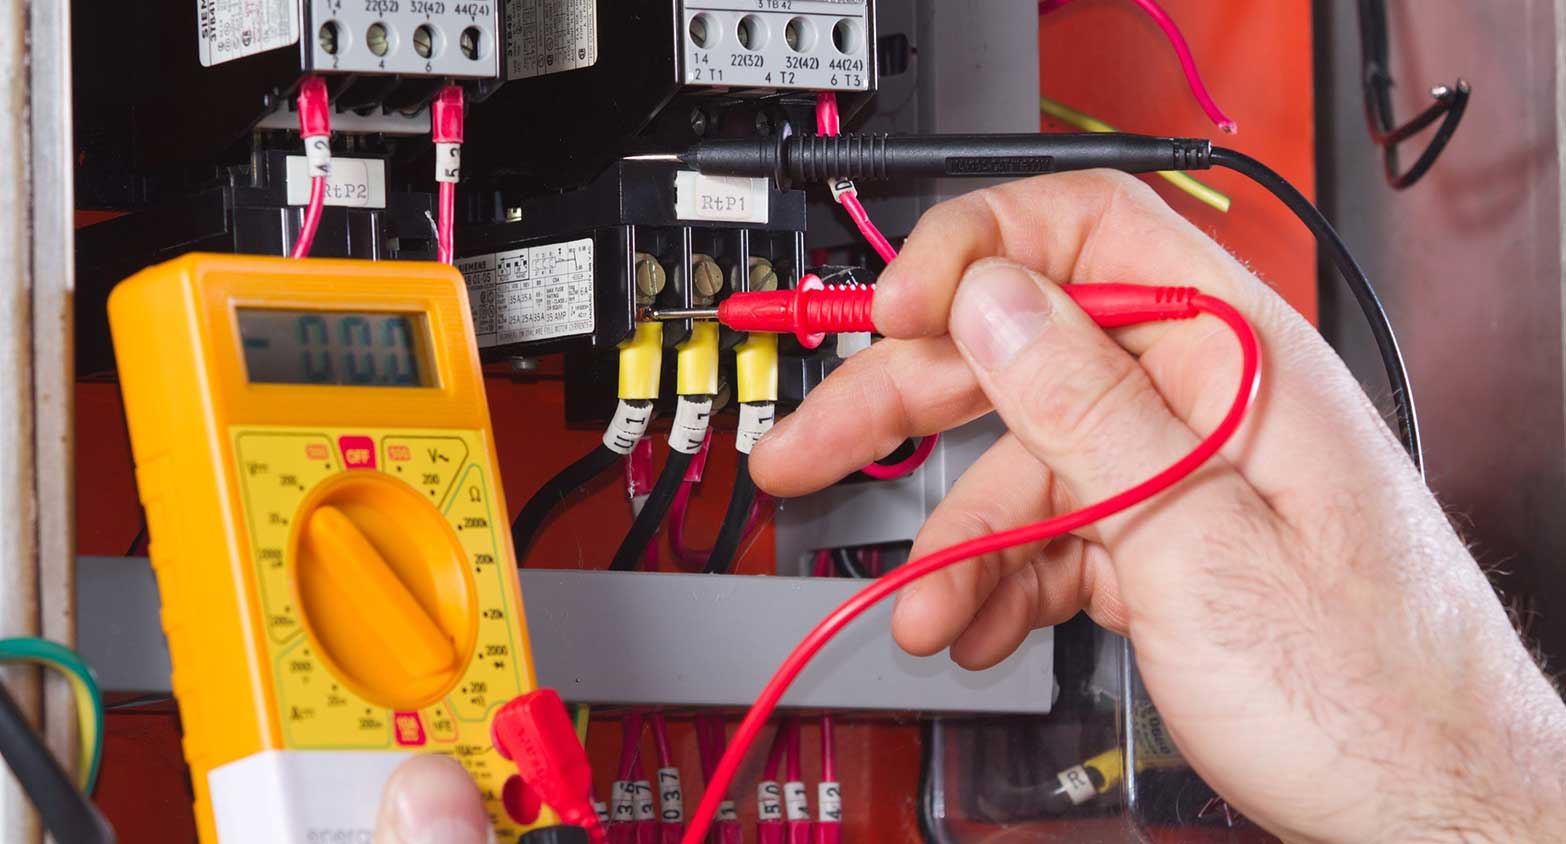
- Turn Off the Power: This is the most crucial step. Locate your home’s electrical panel and switch off the circuit breaker corresponding to the outlet you plan to replace. Use a voltage tester on the outlet to ensure there’s no electricity flowing to it before you start working.
- Use the Right Tools: Equip yourself with insulated tools designed for electrical work, including screwdrivers, wire strippers, and a voltage tester. These tools help minimize the risk of electrical shock.
- Wear Protective Gear: Rubber-soled shoes, safety goggles, and gloves can offer additional protection against electric shock and other injuries.
Steps to Replace the Outlet
With safety measures in place, follow these steps to replace the electrical outlet:
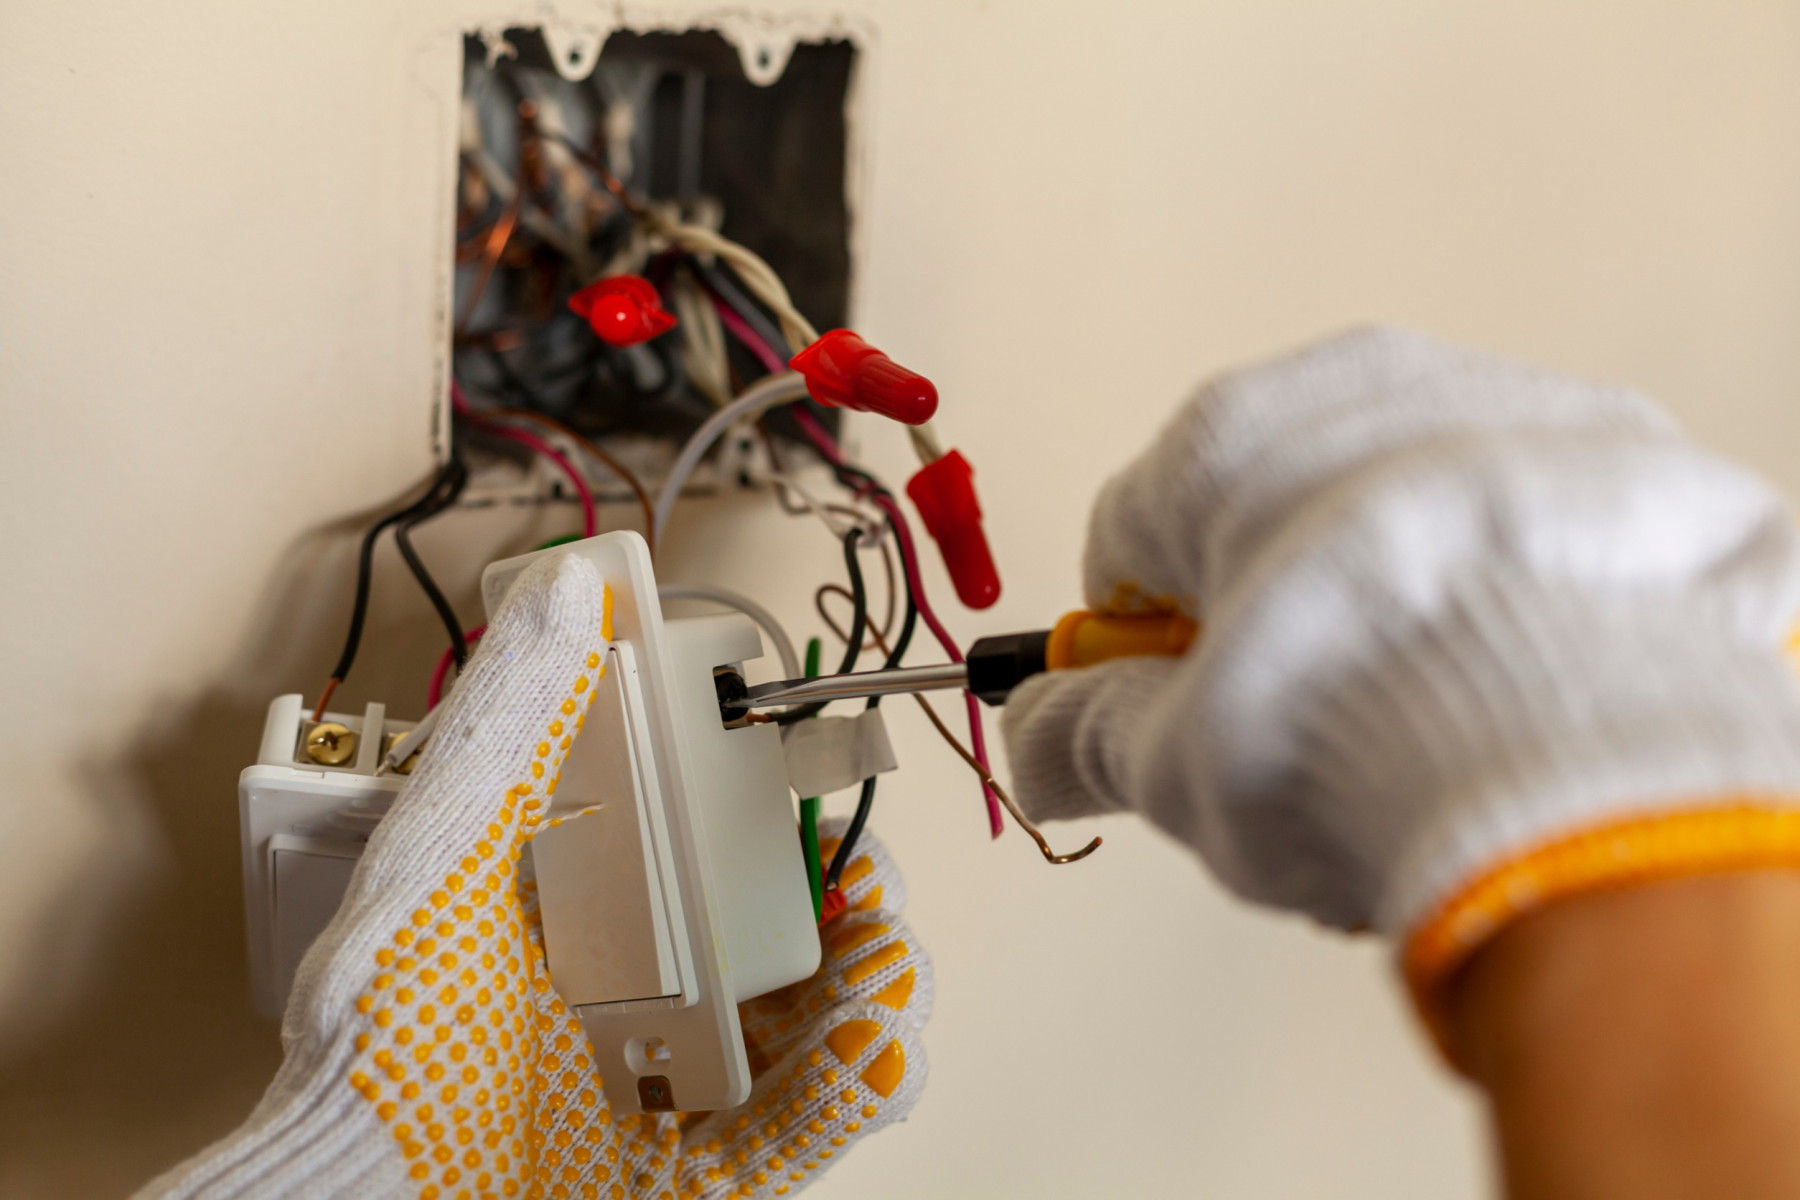
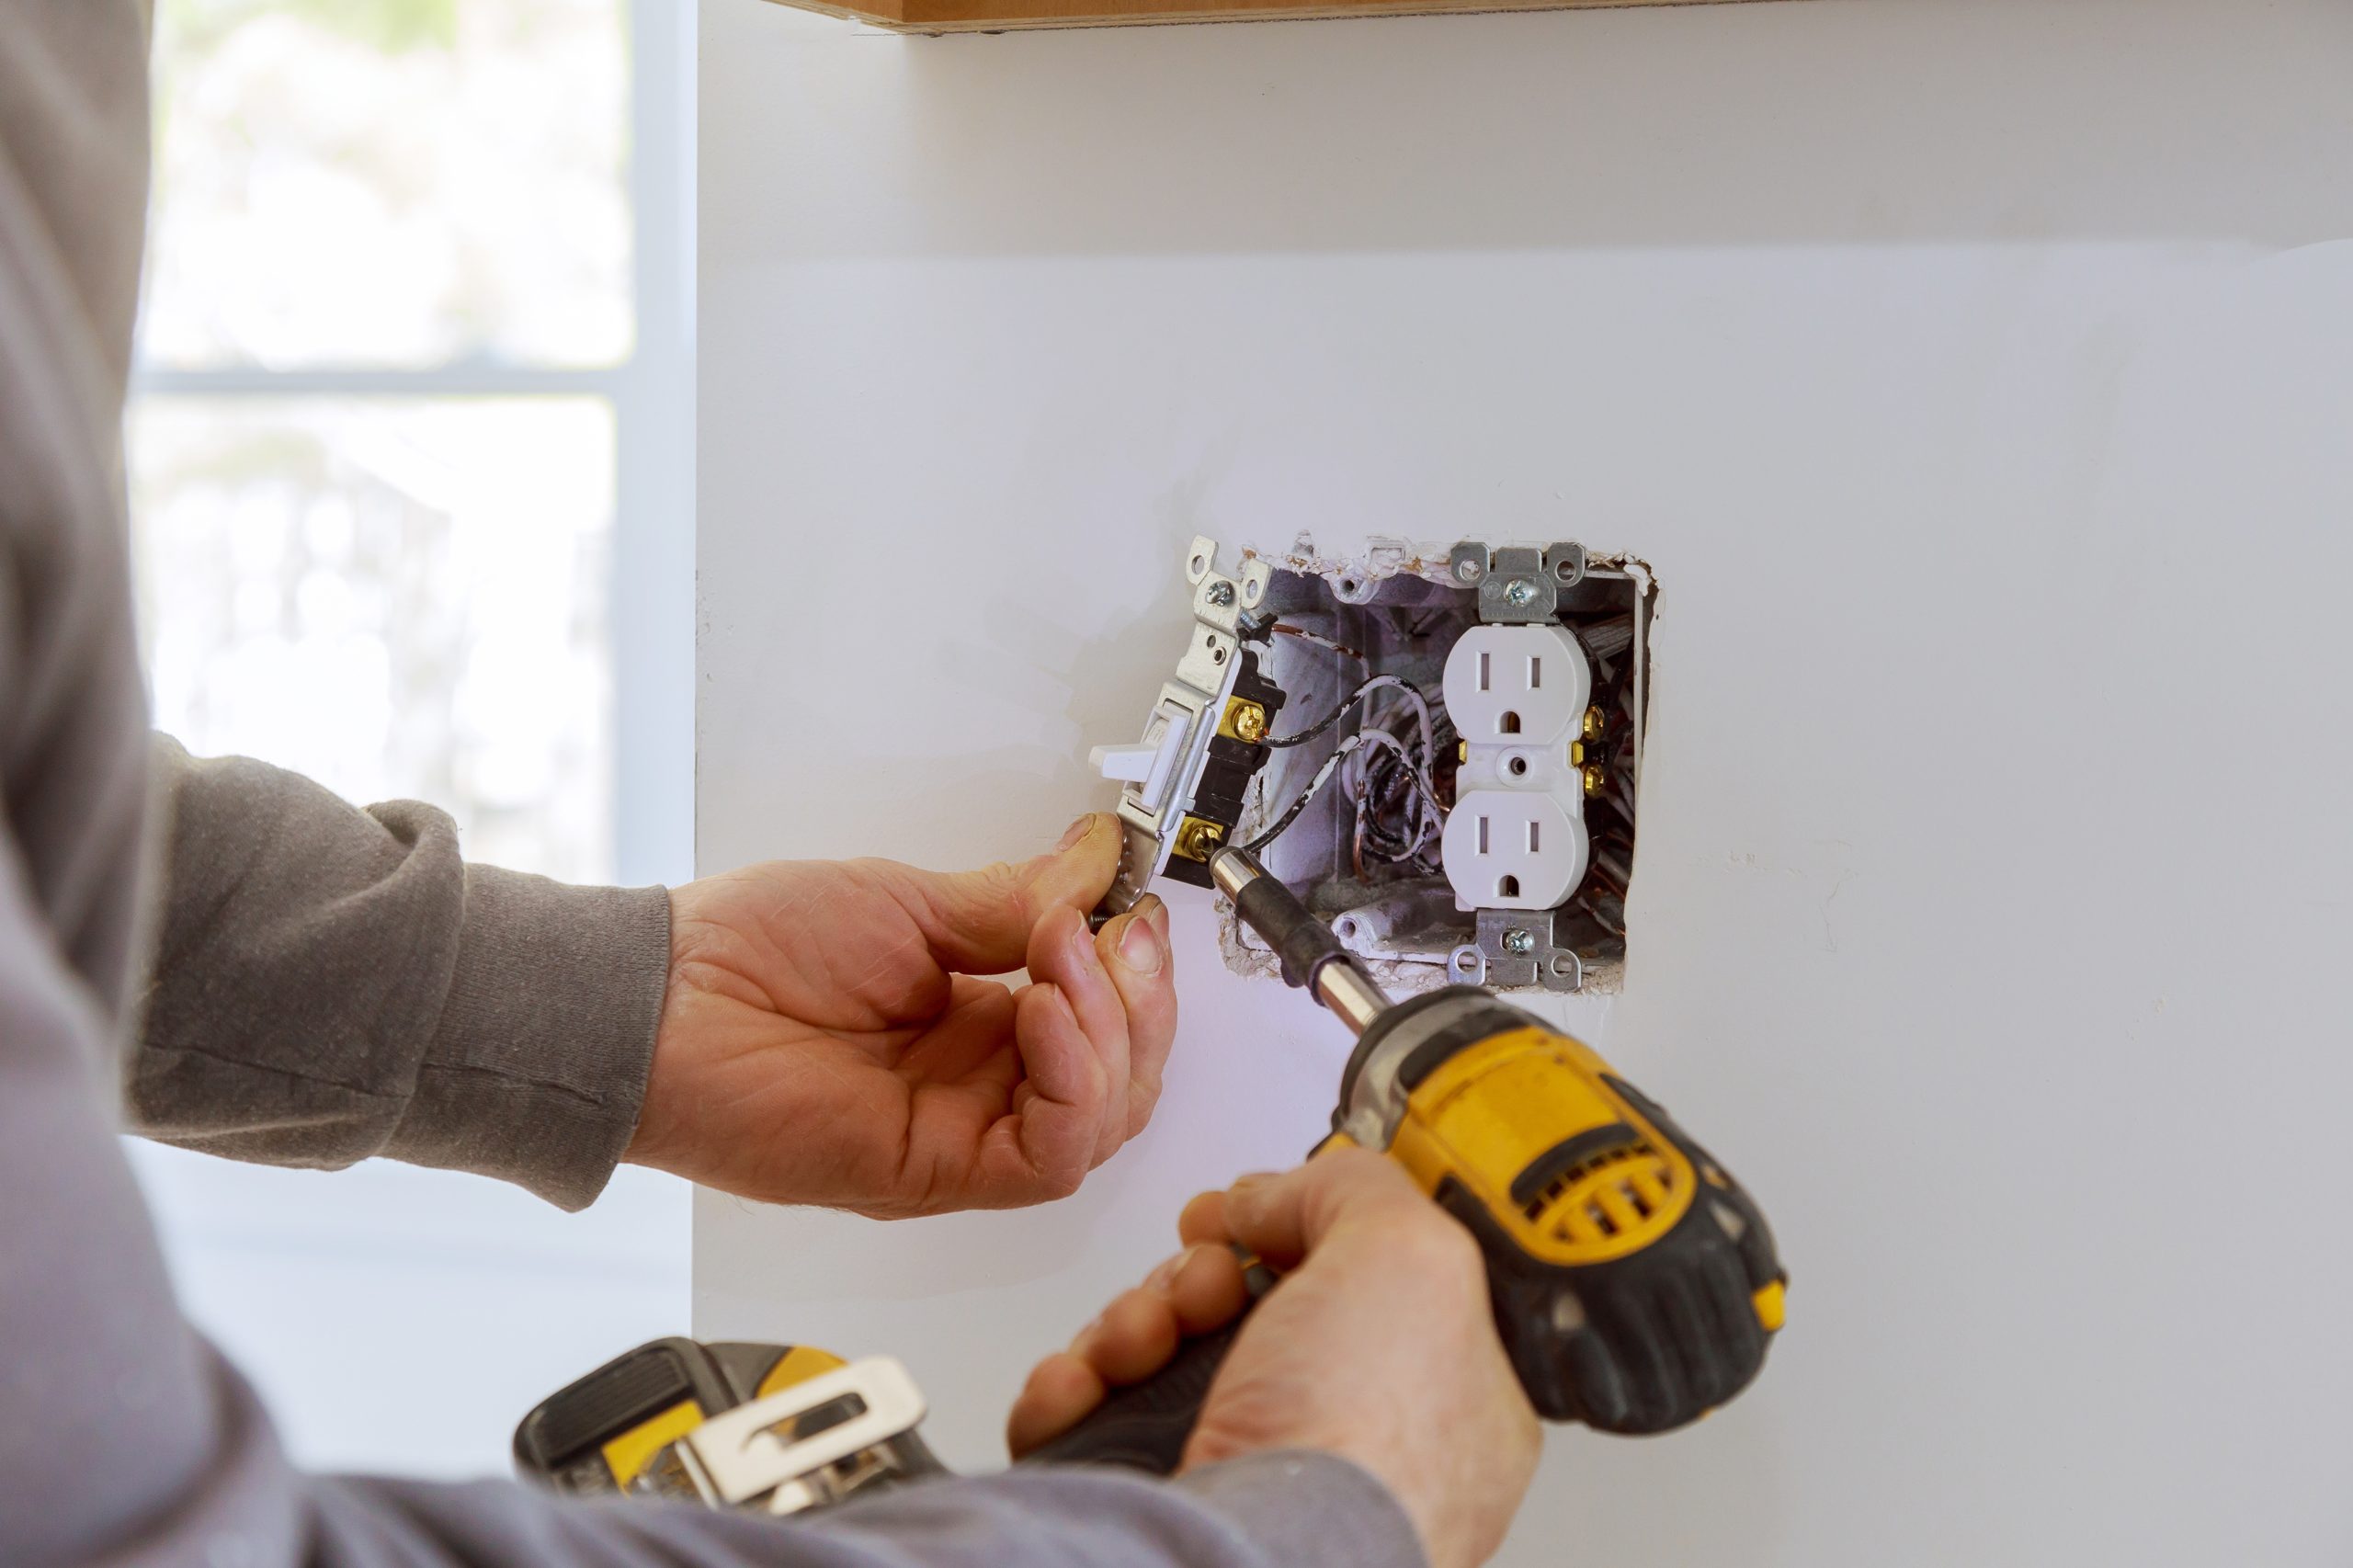
- Remove the Outlet Cover: Unscrew and remove the cover plate from the outlet. Next, utilize the screwdriver to loosen the screws that keep the outlet fixed, and carefully extract the outlet from the box to reveal the wires
Disconnect the Wires:
- Examine the connections of the wires to the outlet. Generally, you will find a black (hot) wire, a white (neutral) wire, and either a green or bare copper (ground) wire. Use your screwdriver to loosen the screws and disconnect the wires from the old outlet. It’s helpful to take a photo before disconnecting the wires for reference when connecting the new outlet.
Connect the New Outlet: Attach the wires to the new outlet in the same configuration as the old one.
- Attach the black wire to the brass screw, link the white wire to the silver screw, and fasten the green or bare copper wire to the green grounding screw. Ensure the connections are tight and secure.
Secure the Outlet and Replace the Cover:
- Gently maneuver the outlet back into the electrical box and fasten it securely using screws. Attach the cover plate, ensuring it’s aligned correctly.
- Restore Power and Test: Turn the circuit breaker back on and test the new outlet with a plug-in appliance or a voltage tester to ensure it’s working correctly.
When to Call a Professional
While many homeowners can successfully replace an outlet following these steps, there are situations where it’s best to call in a professional. If you encounter any of the following, consider reaching out to Blessed for assistance:
- The wiring doesn’t match the expected configuration, suggesting non-standard or outdated wiring.
- There’s visible damage to the wiring or the electrical box.
- You feel uncomfortable or unsure at any point during the process.
When to Call a Professional
While many homeowners can successfully replace an outlet following these steps. There are situations where it’s best to call in a professional. If you encounter any of the following, consider reaching out to for assistance:
- The wiring doesn’t match the expected configuration, suggesting non-standard or outdated wiring.
- There’s visible damage to the wiring or the electrical box.
- You feel uncomfortable or unsure at any point during the process.
Conclusion
Replacing a bad electrical outlet can be a manageable DIY project with careful preparation and adherence to safety protocols. However, the risks associated with electrical work mean that caution cannot be overstated. For those who prefer the peace of mind that comes with professional expertise, or if you encounter any complications, Blessed offers experience electrical services to handle youur needs safely and efficiently. Remember, safety should always be your top priority when dealing with electricity in your home.
Recent Posts
Common Electrical Problems in Older Fort Worth Homes
Why a Licensed Electrician is Essential for Home Renovations in Burleson
How to Prepare Your Irving Home for an Electrical Inspection
The Importance of Routine Electrical Inspections in Plano
Related Post
January 22 2025
Why Licensed Electricians in Fort Worth Are Vital for Commercial Projects
When it comes to commercial construction and renovation, safety should be given the topmost priority. Usually, the electrical system in a commercial building is much more complicated than in residential properties because it powers extensive lighting, heavy machinery, HVAC systems, and much more. Any mistakes in load distribution, wiring, or installation can lead to power […]
January 21 2025
Why Choose a Licensed Electrician in Arlington TX for Home Repairs?
Every homeowner has that moment of panic. The lights flicker, an outlet sparks, or a strange buzzing sound comes from behind the wall. Most people think, “I can handle this myself,” but here’s a reality check that might just save your home—and your wallet. The Neighborhood Cautionary Tale Walk down any street in Arlington, and […]
January 19 2025
Signs You Need a Licensed Electrician in Carrollton for Troubleshooting
There is no doubt that the electrical system is one of the most complex systems in your house. Though most of us take this system’s functionality and utility for granted, everybody should handle it with utmost care to avoid any problems down the road. In most cases, we ignore the signs that indicate that the […]


