How to Safely Replace Bad Electrical Outlets in Your Home

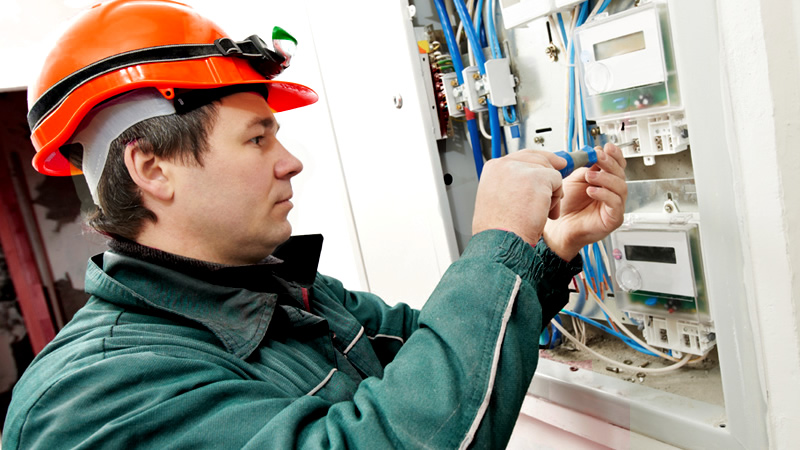
Replacing faulty electrical outlets in your home might seem like a straightforward DIY project, but it’s important to proceed with caution. Electrical work carries inherent risks, including the potential for shock, fire hazards, and even serious injury if not handled correctly. However, with the right preparation, tools, and safety measures, you can replace a bad electrical outlet safely. For those who are not comfortable undertaking this task or encounter complex issues, professional services like Blessed are avaliable to ensure the job is done safely and efficiently! This article will guide you through replacing a faulty outlet while emphasizing safety.

Identifying a Bad Outlet

First, identify the signs of a bad outlet, which may include a burnt smell, discoloration, sparking, or an outlet that no longer holds a plug securely. If you notice any of these signs, it’s time to consider replacing the outlet.

Safety Precautions

Before attempting to replace an outlet, take the following safety precautions to protect yourself and your home:

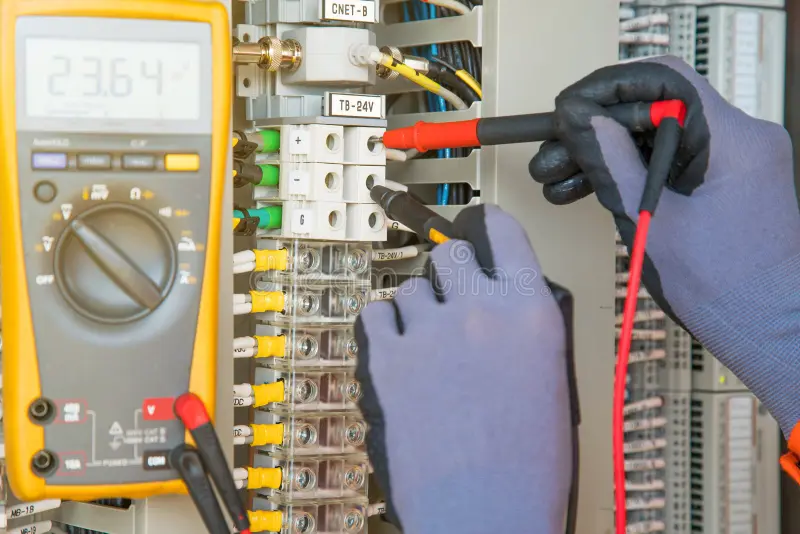
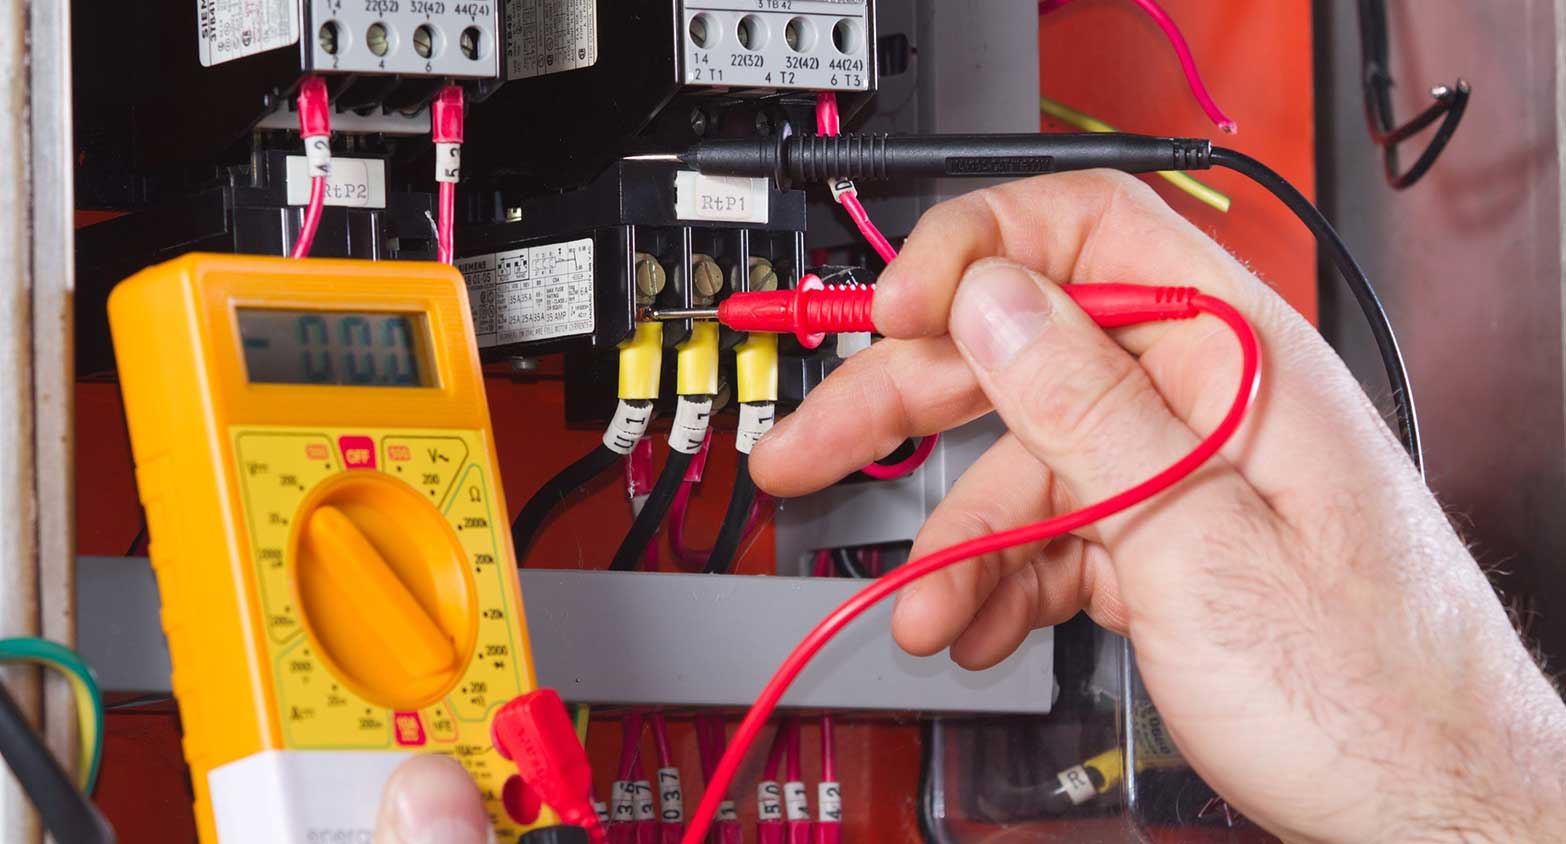
  1. Turn Off the Power: This is the most crucial step. Locate your home’s electrical panel and switch off the circuit breaker corresponding to the outlet you plan to replace. Use a voltage tester on the outlet to ensure there’s no electricity flowing to it before you start working.
  2. Use the Right Tools: Equip yourself with insulated tools designed for electrical work, including screwdrivers, wire strippers, and a voltage tester. These tools help minimize the risk of electrical shock.
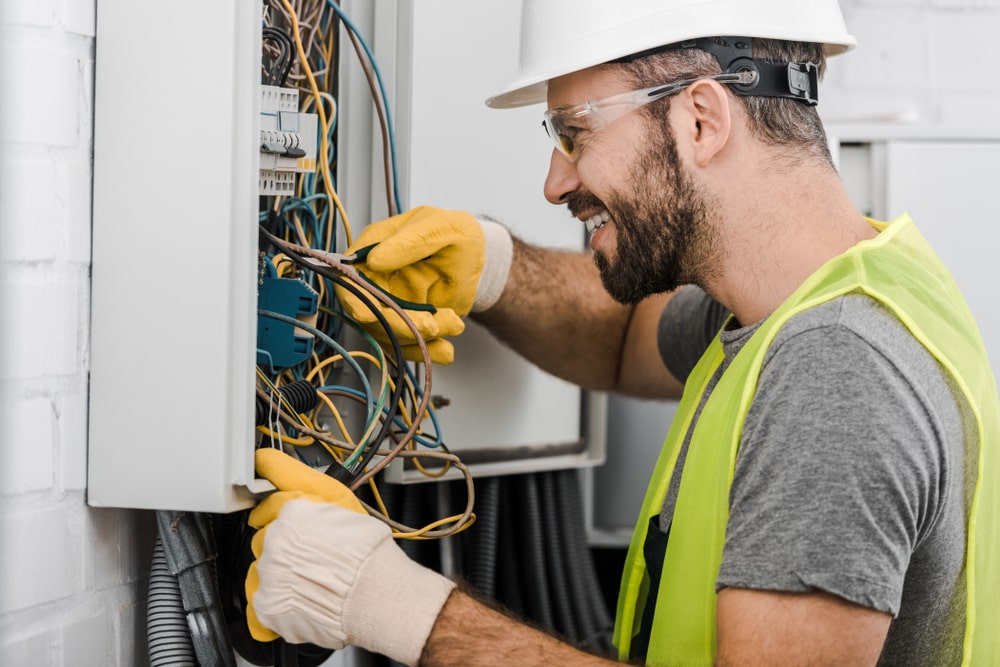
  3. Wear Protective Gear: Rubber-soled shoes, safety goggles, and gloves can offer additional protection against electric shock and other injuries.

Steps to Replace the Outlet

With safety measures in place, follow these steps to replace the electrical outlet:

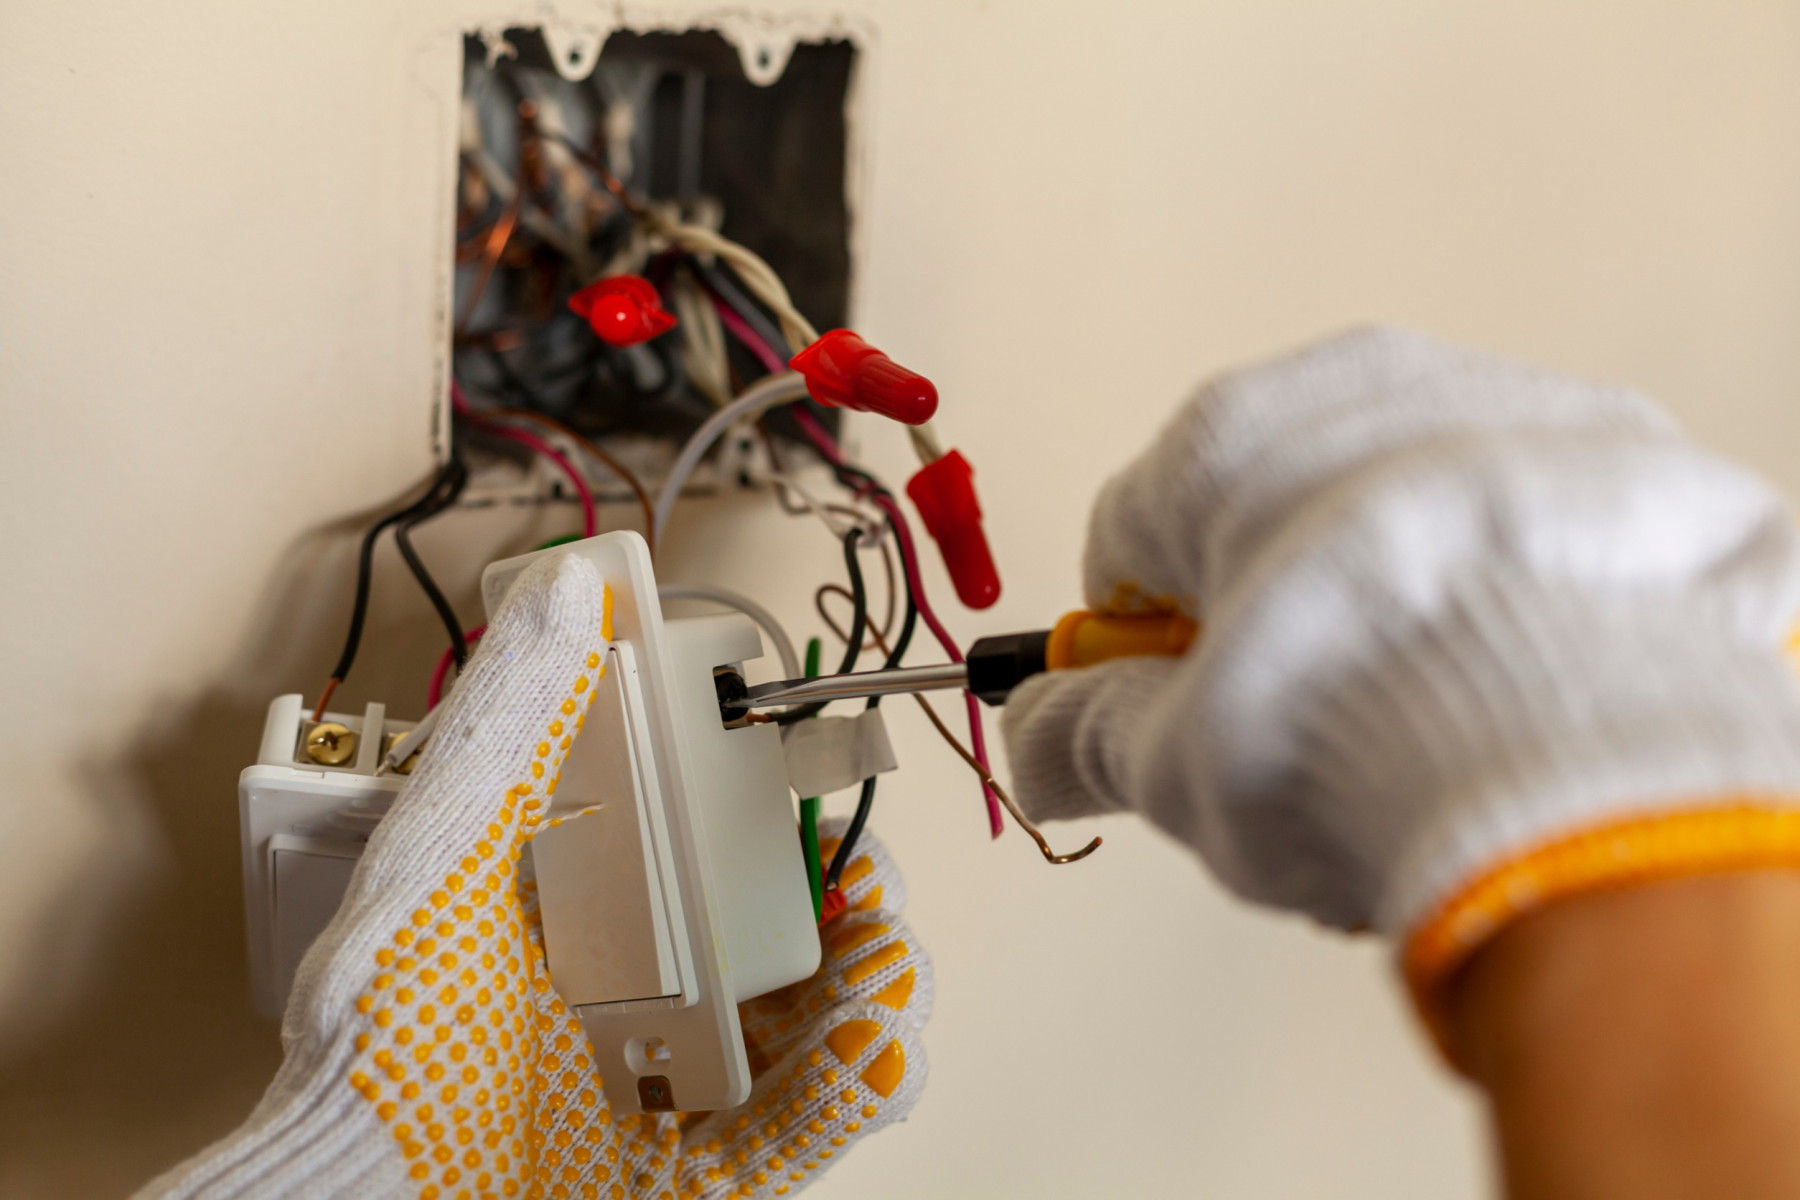
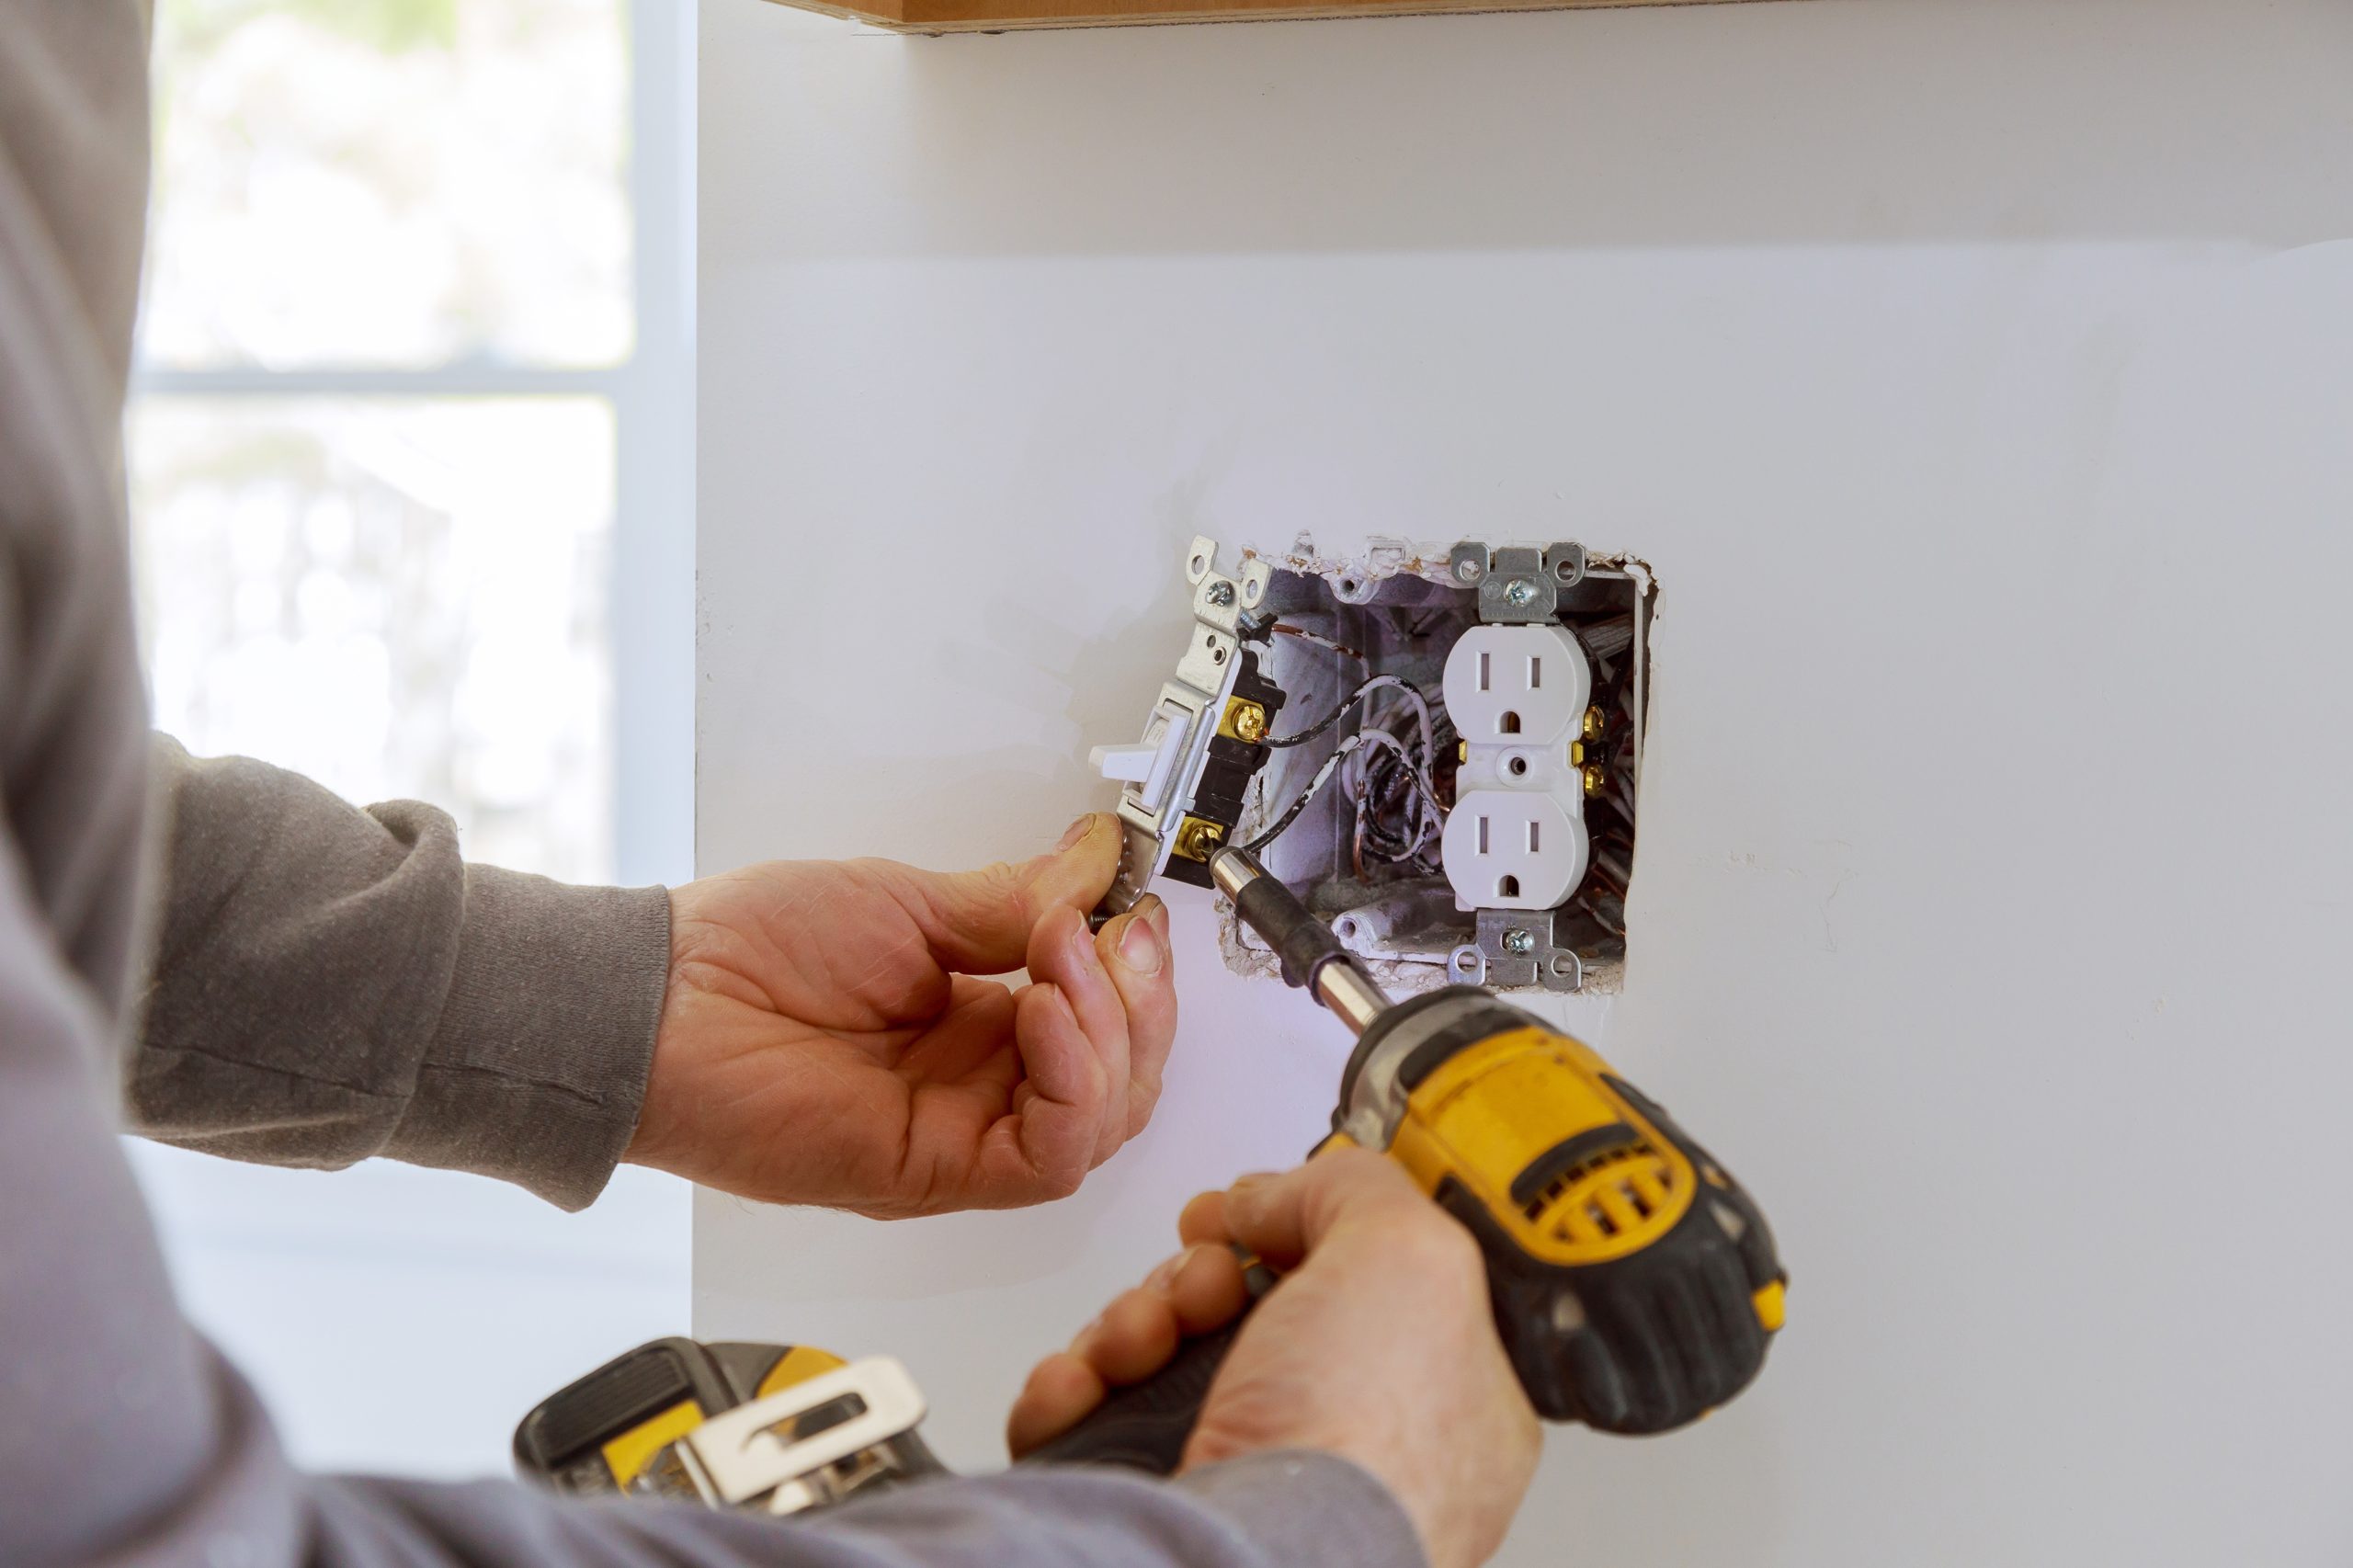
  1. Remove the Outlet Cover: Unscrew and remove the cover plate from the outlet. Next, utilize the screwdriver to loosen the screws that keep the outlet fixed, and carefully extract the outlet from the box to reveal the wires

Disconnect the Wires: 

  1. Examine the connections of the wires to the outlet. Generally, you will find a black (hot) wire, a white (neutral) wire, and either a green or bare copper (ground) wire. Use your screwdriver to loosen the screws and disconnect the wires from the old outlet. It’s helpful to take a photo before disconnecting the wires for reference when connecting the new outlet.

Connect the New Outlet: Attach the wires to the new outlet in the same configuration as the old one. 

  1. Attach the black wire to the brass screw, link the white wire to the silver screw, and fasten the green or bare copper wire to the green grounding screw. Ensure the connections are tight and secure.

Secure the Outlet and Replace the Cover: 

  1. Gently maneuver the outlet back into the electrical box and fasten it securely using screws. Attach the cover plate, ensuring it’s aligned correctly.
  2. Restore Power and Test: Turn the circuit breaker back on and test the new outlet with a plug-in appliance or a voltage tester to ensure it’s working correctly.

When to Call a Professional

While many homeowners can successfully replace an outlet following these steps, there are situations where it’s best to call in a professional. If you encounter any of the following, consider reaching out to Blessed for assistance:

  • The wiring doesn’t match the expected configuration, suggesting non-standard or outdated wiring.
  • There’s visible damage to the wiring or the electrical box.
  • You feel uncomfortable or unsure at any point during the process.

When to Call a Professional

While many homeowners can successfully replace an outlet following these steps. There are situations where it’s best to call in a professional. If you encounter any of the following, consider reaching out to  for assistance:

  • The wiring doesn’t match the expected configuration, suggesting non-standard or outdated wiring.
  • There’s visible damage to the wiring or the electrical box.
  • You feel uncomfortable or unsure at any point during the process.

Conclusion

Replacing a bad electrical outlet can be a manageable DIY project with careful preparation and adherence to safety protocols. However, the risks associated with electrical work mean that caution cannot be overstated. For those who prefer the peace of mind that comes with professional expertise, or if you encounter any complications, Blessed offers experience electrical services to handle youur needs safely and efficiently. Remember, safety should always be your top priority when dealing with electricity in your home.

Is Your Home Ready for A Circuit Panel Upgrade?

Electrical breakers panel boxes provide the right amount of power to your home’s various rooms, and if they are outdated, you may need to replace them. Your home depends on these essential features to get electricity connected to the grid and to distribute it where needed. It is possible for homes to have serious electrical problems or even catch fire without them.

Although electrical panels are generally reliable and safe, they can start to show signs of wear and tear over time. In the event that strange smell or flickering lights have left you wondering whether you should upgrade your electrical panel, please review our list of warning signs to hire an electrician. 

Electric panel upgrades are dangerous and should only be handled by a professional electrician. Let’s take a look at some warning signs that you might need to upgrade your electrical panel.

Electrical Panels: What Do They Do?

Consider your electrical panel as a warehouse for electricity. The warehouse sends out the correct amount of electricity when your kitchen or living room “orders” it.

There are times, however, when an order comes in for too much electricity. As a result, shipments are temporarily stopped at the warehouse. 

This action protects your home from fire and other serious electrical hazards. As electricity demands increase, electrical panels can begin to struggle. It is common for a malfunctioning panel to emit warning signs. Here are some things to look out for.

Eight signs that it is time to upgrade your electrical panel: 

It’s Original to Your Home.

There is a 25- to 40-year average life expectancy for electrical panels. Is yours within this age range? 

If you do not notice any clear signs that your circuit breaker is having problems powering your home, it may be worth having a professional electrician check it out. An electrician can quickly determine if your home’s electrical system is damaged or worn out.

Breakers need to be flipped constantly.

Your electrical panel may trip when an area of your home draws too much power. If this happens, you must flip the affected breaker again to restore power. 

This action does not automatically indicate a problem. However, if you find yourself constantly flipping breakers, it’s likely time to hire an electrician to inspect your breaker.

Breakers are not used in your panel.

The flipping of breakers can indicate that it’s time to upgrade your electrical panel. However, you may not even have breakers on yours. Homes built before 1960 had fuse panels that directed electricity. 

Fuse panels are now fire hazards, and you should replace them with electrical panels. It’s time to upgrade if you have to change fuses rather than flip breaker switches.

There is rust or damage to your electrical panel.

If you spot water or rust on your electrical panel, call an electrician immediately. It’s a fire hazard to have rusted, broken, or corroded panels, so you need to repair or replace them.

There are not enough outlets.

To make up for the lack of electrical outlets throughout your house, do you often reach for a power strip? This is a sign that your electrical panel is not capable of coping with an increase in electricity. 

In case your panel is able to accommodate additional circuits, an electrician can install additional outlets. If it cannot, a replacement electrical panel is your best option.

There is a burning smell.

You should always be concerned when you smell something burning in your home. Immediately take action if you suspect your electrical panel is emitting a smell. The failure of a circuit breaker can soon result in a serious fire in the house. 

A burning plastic or wood smell is likely caused by the plastic jacket of an electrical wire melting. The problem may be in the walls of your home if you smell wood. An electrician may be able to fix the problem if the smell is subtle and disappears after a while. In case the smell is overwhelming and you’re worried that a fire has already started, evacuate your home and contact 911 immediately.

Electrical panel that is warm or hot.

Circuit breakers trip when they become overheated. Nevertheless, if your circuit breaker is warm or hot, this may indicate a severe malfunction. Get a qualified electrician out to inspect your panel right away.

When you plug things in, you see sparks. 

Although you may occasionally see tiny sparks when plugging something into an outlet, you should pay attention to the size and frequency of the sparks. An outlet that sparks repeatedly or in large amounts is a clear indication that something is wrong with your wiring. 

Whenever you see this warning sign, you should call an electrician to have it checked out. The cause might be a wiring or outlet issue.

Flickering or dimming lights when using an appliance.

When you start the dishwasher or microwave, do your overhead kitchen lights dim? In such a case, too much power is being drawn from a single circuit. 

It may be possible to add extra circuits, but a complete replacement may be the best solution. It is best to get advice from a professional electrician about which route to take.

In the event that you notice any of the above signs, it may be time to upgrade your circuit panel. For expert assistance in making these crucial decisions, turn to the professionals at DFW Electrician & HVAC, who can guide you through the process with expertise and care.

Electrical Tips for New Builds

Constructing a new home is an exciting journey full of decisions that shape its comfort, functionality, and safety. Among these considerations, the electrical system is paramount, as it will power every aspect of modern living within the space. Careful planning and expert guidance are essential to ensure that your new build meets current standards and anticipates future needs. For professional advice and installation services, DFW Electrician & HVAC stands as a reliable partner. Here are essential electrical tips for new builds to create a safe, efficient, and adaptable living environment.

Plan for Ample Outlets

One common regret among new homeowners is not having enough outlets. As you design your home, think about your lifestyle and where you’ll need power. Consider adding outlets in convenient locations such as kitchen islands, bathrooms, hallways, and outdoor living spaces. Also, plan for USB or smart outlets that can charge devices directly without needing bulky adapters.

Invest in Energy Efficiency

Incorporating energy-efficient solutions from the start can lead to significant savings. LED lighting, energy-efficient appliances, and programmable thermostats are just the beginning. Consider installing a home energy management system to monitor and control energy usage in real-time.. Energy-efficient designs not only reduce utility bills but also contribute to a more sustainable living environment.

Future-Proof with Smart Home Wiring

As technology evolves, so do our homes. Wiring your new build with smart home technology in mind can offer unparalleled convenience and security. Having the necessary infrastructure in place means you can easily incorporate smart technologies now or in the future, from lighting and thermostats to security systems and entertainment setups.

Ensure Adequate Lighting

Good lighting is about more than just placing fixtures in every room. It’s about creating ambiance, enhancing functionality, and ensuring safety. For a balanced and flexible lighting scheme, it’s important to combine ambient, task, and accent lighting. Don’t forget to include ample outdoor lighting for security and aesthetic appeal.

Include Surge Protection

Surge protection is often overlooked but crucial for protecting your home’s electronics from voltage spikes. It’s a good idea to install a whole-house surge protector to protect your entire electrical system from power surges. This will protect your appliances and electronics from sudden voltage spikes caused by electrical disturbances including lightning strikes and power outages. This is especially important in areas prone to lightning or where power surges are common.

Plan for EV Charging

With the growing use of electric vehicles (EVs), many people are interested in having their own EV charging station at home. Even if you don’t own an EV currently, pre-wiring your garage or driveway for an EV charger can increase your home’s value and future usability.

Consider the Location of Your Electrical Panel

The electrical panel serves as the central hub of your home’s electrical system, responsible for distributing power to all the circuits in your house. It should be easily accessible but out of the way of daily activities. Ensure it’s located in a dry, temperature-controlled area to prevent moisture damage or overheating. This also makes future upgrades or repairs more straightforward.

Work with Qualified Professionals

Perhaps the most important tip is to work with experienced and licensed electricians. Electrical work is complex and requires a thorough understanding of codes and standards. Professionals like those at DFW Electrician & HVAC can ensure that your electrical system is safely and efficiently designed and installed, providing peace of mind and compliance with local regulations.

Conclusion

Building a new home is an opportunity to tailor every aspect to your needs, including the electrical system. By planning for ample outlets, investing in energy efficiency, preparing for smart home technologies, and working with qualified professionals, you can create a safe, comfortable, and future-ready home. It’s important to remember that the decisions you make now will affect the functionality and comfort of your home for years to come. For expert assistance in making these crucial decisions, turn to the professionals at DFW Electrician & HVAC, who can guide you through the process with expertise and care.

HOME IMPROVEMENT PROJECTS TO START IN THE FALL

With the weather cooling, now is a good time to clean up summer messes and prepare your home
for the colder months. Take advantage of this time to complete fall maintenance and renovation
projects before they become too late.

1. Upgrade Your Furnace

It may be time to replace your furnace if it is more than 10 to 15 years old and is taking longer to
heat the house than usual. It is possible for you to save money by choosing a fuel that is energy
efficient, such as natural gas, by paying careful attention to the SEER ratings.

2. Check On Important Insulation

Make sure the weatherstripping around your doors, windows, and garage door is in good
condition. Sealing these openings with felt strips prevents drafts, but they can wear down over
time. Any faded weatherstripping should be replaced, as well as any other insulation tasks that
have been neglected.

3. Seal Any Air Leaks in the Attic

There may be air leaks (and pest entrances) in your attic if you see light shining through chinks.
Keep your house warm over the winter by sealing them off with foam insulation. Attic vents are
needed to remove humid air from your attic, so do not close them.

4. Clean Out Your Gutters

Over the fall and winter, your gutters work hard, and they need your help. Make sure they are
clean before the weather gets too cold. Keeping your gutters clean will prevent rain or snow from
overflowing and damaging your roof.

5. Replace Old Single-Pane Windows

Windows with single panes are inefficient insulators. Consider replacing your existing single-
pane windows with double-pane windows. Additionally, you can upgrade double-pane windows
to ones that are sealed with a neutral gas like argon to make them more energy-efficient.

6. Replace Missing Shingles

It is possible for rain, wind, and snow to damage your roof if it's not in good shape. If you see
any missing shingles or other signs of damage, replace them before they become serious leaks
that can cost you thousands of dollars.

7. Prepare Your Fireplace

Make sure to clean out wood fireplaces thoroughly, check the chimney, and have plenty of wood
on hand. A fireplace inspection before the winter season can also be beneficial for gas fireplaces
and electric fireplaces.

8. Switch Your Ceiling Fan Direction

During the colder months, ceiling fans should rotate clockwise so warm air is pushed back into
the room. In most fans, the direction can be reversed by simply switching the switch.

9. Hibernate Outdoor AC Units

Make sure your outdoor air conditioner is clean and covered so that it can be protected from rain
and snow. Note that heat pump models cannot be covered because they switch to a heating mode
in winter.

For professional diagnosis and repair, DFW Electrician & HVAC stands ready to assist.

Humidity Control in HVAC Systems: A Key Focus for East Texas

In East Texas, where the climate is both hot and humid for much of the year, proper humidity control in
HVAC systems is crucial. High humidity can cause discomfort, affect indoor air quality, and lead to mold
and mildew growth, which can cause structural damage. Maintaining a healthy and comfortable indoor
environment is important, homeowners and businesses need HVAC systems designed to effectively
manage both temperature and humidity.

An efficient HVAC system in East Texas should include a dehumidification component, either integrated
into the system or as a standalone unit. The ideal indoor humidity level should be maintained between
30% and 50%, reducing excess moisture while ensuring comfort. Variable-speed air handlers and
properly sized systems also play a significant role in controlling humidity by preventing short cycling,
which can leave moisture in the air.

Additionally, regular maintenance, including coil cleaning and filter replacements, ensures optimal
system performance. For those in particularly humid areas, advanced solutions like whole-home
dehumidifiers can be a wise investment. With the right control strategy, East Texas residents
can enjoy cooler, drier, and healthier homes year-round, despite the region’s challenging climate
conditions.

For professional diagnosis and repair, DFW Electrician & HVAC stands ready to assist.

Surge Protectors: Your Best Defense Against Storm-Induced Power Surges

Our licensed electricians are often asked about precautions that are needed during storms. One of the simplest and most effective solutions is using surge protectors. In this article, I’ll dive into why surge protectors are essential during storms, how they work, and how to choose the best one for your home.

What Causes Power Surges?

Power surges are sudden increases in voltage that can damage or destroy electronic devices. These surges can occur for several reasons, including lightning strikes, downed power lines, and the restoration of power after an outage. During storms, the risk of power surges increases significantly, making it crucial to protect your devices.

How Do Surge Protectors Work?

Surge protectors shield your electronic devices from voltage spikes by diverting excess electricity to the grounding wire. Here’s a breakdown of the key components and their roles:

  • Metal Oxide Varistor (MOV): The core component that absorbs excess voltage and directs it safely to the ground.
  • Grounding Wire: Provides a path for the excess voltage to be safely dissipated.
  • Indicator Lights: Show the status of the surge protector, indicating if it’s functioning correctly.

The Necessity of Surge Protectors During Storms

Lightning strikes can cause severe power surges that travel through power lines and into homes, potentially damaging anything plugged into an outlet. Surge protectors are designed to handle these spikes and prevent them from reaching your valuable electronics. By using surge protectors, you can avoid costly repairs or replacements and reduce the risk of fire.

Choosing the Right Surge Protector

Not all surge protectors offer the same level of protection. Here are some factors to consider when selecting one:

  1. Joule Rating: This measures the energy absorption capacity of the surge protector. For effective storm protection, look for a joule rating of at least 2,000.
  2. Clamping Voltage: The voltage level at which the surge protector activates to divert excess electricity. A lower clamping voltage offers better protection; aim for 400 volts or less.
  3. Response Time: The quicker the response time, the better the protection. Look for a response time of one nanosecond or less.
  4. Number of Outlets: Ensure the surge protector has enough outlets for all your essential devices.
  5. Additional Features: Some protectors come with USB ports, coaxial cable protection, or Ethernet protection, which can be beneficial for comprehensive protection.

Whole-House Surge Protectors

For the highest level of protection, consider installing a whole-house surge protector. These devices are connected directly to your electrical panel and protect all the circuits in your home. Although they are more expensive than plug-in products, they provide robust protection against large surges caused by lightning.

Installation Tips

Proper installation ensures your product work effectively:

  • Plug-In Surge Protectors: Simply plug them into an outlet and then connect your devices.
  • Whole-House Surge Protectors: These should be installed by a licensed electrician to ensure they are correctly connected to your electrical panel.

Maintenance and Replacement

Surge protectors degrade over time and need to be replaced periodically to ensure continued protection:

  • Indicator Lights: Pay attention to the indicator lights. If they go out, it’s time to replace the unit.
  • Regular Replacement: Even if the lights are functioning, replace surge protectors every 3-5 years or after a significant surge event.

Conclusion

Storms can cause significant damage to your home’s electrical system, but with the right hardware, you can protect your valuable electronics and appliances. Understanding how these products work and selecting the right ones for your needs will help keep your home safe during stormy weather.

If you have any questions or need help selecting or installing products, don’t hesitate to reach out to DFWElectricianHvac. Our team of professional electricians is here to ensure your home remains safe and your electrical system functions smoothly.

5 Questions to Ask Before Hiring an Electrician

Hiring a qualified electrician is essential for ensuring the safety, functionality, and efficiency of your home’s electrical systems. Whether you need repairs, upgrades, or new installations, asking the right questions can help you find a skilled and reliable professional.

With the expertise available at DFW Electrician & HVAC, you’re guaranteed quality service. Before hiring an electrician, ask these five essential questions to make an informed decision.

1. Are You Licensed and Insured?

The first and most important question involves the electrician’s licensing and insurance status. A licensed electrician has met the necessary training and qualification standards set by your state or local authority, ensuring they’re competent to perform electrical work safely and effectively.

Insurance coverage, including liability and workers’ compensation, safeguards you from being held accountable for any accidents or damages that occur during the project. DFW Electrician & HVAC ensures all their electricians are fully licensed and insured, providing you with peace of mind.

2. What is Your Experience with This Type of Work?

Electrical work involves a broad spectrum of tasks, ranging from basic repairs to intricate installations. It’s important to hire an electrician with experience specific to your project needs. An experienced electrician can efficiently diagnose issues, recommend solutions, and ensure the work is completed to the highest standard.

Don’t hesitate to ask for examples of similar projects they’ve completed, which can give you confidence in their ability to handle your job.

3. Can You Provide References?

Verifying an electrician’s work quality and customer service through past clients can be done by asking for references. A reputable electrician should be more than willing to provide references from happy customers who can vouch for their professionalism, reliability, and quality of work.

An electrician should be willing to provide references who can vouch for their professionalism, reliability, and quality of work.

Feedback from references can offer insights into the electrician’s punctuality, communication, and overall satisfaction with the services provided.

4. What Does Your Estimate Include? 

Before hiring an electrician, ensure you receive a detailed estimate that outlines the scope of work, materials, labor, and any other costs associated with the project. This transparency helps avoid unexpected expenses and ensures both parties understand what is included in the job. Inquire if the estimate is a fixed price or if there could be additional charges based on time and materials. DFW Electrician & HVAC provides clear, upfront estimates, helping you budget effectively for your electrical project.

5. How Do You Handle Warranty and Service Issues?

It is crucial to understand both the material and labor warranties before beginning any electrical work. It’s important to inquire about an electrician’s policy for handling defects or issues that may arise after the project is completed. A reliable electrician will guarantee their work with a warranty, and they should be accessible to address any service calls or concerns after the project is completed. This question ensures you’re covered should anything not meet your standards or expectations after the job is done.

Conclusion

Before hiring an electrician, asking these questions can help you find a professional who will complete your electrical projects safely, efficiently, and to your satisfaction.

With the skilled team at DFW Electrician & HVAC, you can rest assured that your electrical needs will be met with expertise and professionalism.

It’s important to choose an electrician who will not only get the job done, but also ensure the safety and efficiency of your home’s electrical systems for years to come.

Sparks Coming from a Plug in your home? Here’s a few tips to Help!

Seeing sparks fly from a plug when connecting a device can be startling and is often a sign of an electrical issue that should not be ignored. Such sparks can indicate minor problems or more serious electrical hazards. To prevent damage to your home and ensure your safety, it’s important to know what steps to take when encountering this issue. For professional advice and services, DFW Electrician & HVAC is your go-to resource. Here’s what you should do when you see sparks coming from a plug on a device.


  1. Disconnect any Devices Immediately

The first step is to safely disconnect the device from the power source. Ensure you do this by pulling the plug, not the cord, to avoid damaging the appliance or the outlet. If the outlet continues to spark or if you notice smoke, turn off the power at the circuit breaker immediately.


  1. Inspect the Plug and Outlet for Sparks

Once the device is disconnected, inspect the plug, outlet, and cord for any visible signs of damage, such as burn marks, exposed wires, or melting. These signs can indicate the cause of the sparking, whether it’s a problem with the device or the outlet itself.


  1. Avoid Reusing the Outlet

Until you have determined the cause of the sparking and addressed the issue, do not use the outlet. Plugging a device into a potentially faulty outlet can cause electrical shock or fire. Plugging a device into a potentially faulty outlet can cause electrical shock or fire.


  1. Determine the Cause

Sparks can result from several issues, including loose wiring, an overloaded circuit, or a faulty device. If the outlet shows signs of damage, it may need to be replaced. If the plug or cord of the device is damaged, the device itself may need repairs or replacement.


  1. Test the Device on a Different Outlet

Ensure that the plug and outlet are undamaged by trying it on another outlet. If it does, the problem is likely with the device and not the outlet. However, proceed with caution and be ready to disconnect the device immediately if needed.


  1. Contact a Professional Electrician if it continues to have sparks

If you’re unable to determine the cause of the sparking or if the issue persists, it’s important to consult a professional electrician. An experienced electrician can safely diagnose and repair electrical issues, ensuring your home’s electrical system is safe and functional. DFW Electrician & HVAC offers expert technicians who can handle a wide range of electrical problems, providing reliable electrical services.


  1. Review Your Home’s Electrical Load

Frequent sparking from multiple outlets may indicate that your home’s electrical system is overloaded. Modern homes require a significant amount of power to operate various devices and appliances. An electrician can assess your home’s electrical load and recommend solutions, such as upgrading your electrical panel or adding additional circuits, to accommodate your power needs safely.


Conclusion


Sparks from a plug can be a warning sign of an underlying electrical issue that should not be taken lightly. To ensure the safety of your home and loved ones, it is important to take immediate action if you suspect an electrical problem. This may involve disconnecting the device, inspecting it for damage, and consulting with a professional electrician like DFW Electrician & HVAC. Remember that electrical safety is of utmost importance, so never hesitate to seek professional help when dealing with electrical issues.

What Causes Lights to Buzz?

When the serene ambiance of your home is disturbed by the persistent buzzing of lights, it’s not just an annoyance—it’s a symptom of underlying electrical issues that demand attention. This issue can have various causes, from simple solutions to complex electrical problems. Ensuring the safety and comfort of your home environment requires understanding the cause of buzzing lights. For professional diagnosis and repair, DFW Electrician & HVAC stands ready to assist. Here’s an in-depth look into the reasons behind buzzing lights and what actions you can take.

  1. Dimmer Switch Compatibility

One common cause of buzzing lights is the use of dimmer switches with non-compatible light bulbs. Dimmer switches work by rapidly turning the light circuit on and off to simulate lower light levels, which can cause an audible buzzing sound if the light bulb isn’t designed to handle this type of operation. LED bulbs, in particular, may require specific dimmer switches designed for low-power lighting to operate quietly and efficiently.

  1. Loose Connections on Lights

A loose electrical connection, either in the light fixture itself or in the wiring to the switch or outlet, can also lead to buzzing noises. These loose connections can cause a slight arcing of electricity, which generates a buzzing sound and potentially poses a fire risk. Ensuring all connections are tight and secure can often resolve this issue.

  1. Lights Overloaded Circuits

When too many devices or fixtures are connected to a circuit, it can cause lights to buzz due to strain on the electrical system. Overloading can increase the electrical current’s flow through the light bulb, leading to overheating and noise. Evaluating the load on your circuits and redistributing electrical devices can alleviate this problem.

  1. Transformer Issues

Certain types of light fixtures, especially low-voltage lighting like halogen or LED systems, use transformers to reduce the voltage supplied to the bulbs. A malfunctioning or incompatible transformer can create a buzzing sound in the lights it supplies. Replacing the transformer with one that matches the fixture’s voltage requirements can eliminate the noise.

  1. Lights Bulb Type and Quality

The type and quality of the bulb can also influence the presence of buzzing sounds. Cheaper, lower-quality bulbs may buzz more than higher-quality options due to inferior manufacturing standards. Additionally, fluorescent bulbs are more prone to buzzing, especially as they age or if they’re used with incompatible ballasts. Switching to high-quality, compatible bulbs often solves the buzzing issue.

  1. Electrical Interference

Electrical interference from nearby appliances or improperly shielded wiring can induce a buzzing sound in light fixtures. This is more common in environments with a high density of electrical devices. Identifying and relocating the source of interference, or upgrading wiring to include better shielding, can mitigate this problem.

  1. Harmonic Resonance

Sometimes, the buzzing isn’t due to the electrical system but rather a physical vibration in the light fixture, known as harmonic resonance. This occurs when certain parts of the light fixture vibrate in response to the electrical current. Adjusting the fixture or dampening the vibration with padding can reduce or eliminate the noise.

Conclusion

Buzzing lights are more than just a nuisance; they’re an indication that something in your electrical system may need attention. Whether it’s a compatibility issue with dimmer switches, a loose connection, or a more complex problem like electrical interference, addressing the root cause is essential for both peace of mind and safety. If troubleshooting your buzzing lights seems daunting, or if the problem persists, consulting with professionals like DFW Electrician & HVAC is a wise choice. Their expertise can help diagnose and fix the issue, ensuring your home remains a tranquil and safe environment. Regular maintenance and attention to the quality and compatibility of your electrical devices and fixtures can prevent buzzing lights and keep your home’s ambiance undisturbed.

All About HVAC Filters

In the intricate ecosystem of a home’s HVAC (Heating, Ventilation, and Air Conditioning) system, filters play a pivotal role that often goes underestimated. Not only do pollutants impact air quality, they also harm HVAC efficiency. It is important to select the right size of HVAC filters to maintain a healthy, comfortable, and energy-efficient home. This article will guide you through the essentials of HVAC filters, emphasizing their significance and navigating the process of choosing the appropriate size for your system. For professional assistance and more information, DFW Electrician & HVAC remains a resourceful ally in ensuring your HVAC system operates optimally.

The Importance of HVAC Filters

The primary purpose of HVAC filters is to remove particles and contaminants from the air as it circulates through the heating and cooling system. These particles include dust, pollen, pet dander, mold spores, bacteria, and other allergens. By capturing these pollutants, HVAC filters not only enhance the indoor air quality but also protect the HVAC system itself from dust buildup that can lead to inefficiency or damage.

A clean and effective filter ensures that your HVAC system runs smoothly, requiring less energy to heat or cool your home. This means that you will pay less for utilities and have a smaller impact on the environment. Moreover, by preventing dust and debris from accumulating in the system’s components, properly maintained filters extend the lifespan of your HVAC unit, saving homeowners on costly repairs or premature replacement.

Finding the Right Size Filter for Your HVAC System

Selecting the correct filter size is critical for its effectiveness and the overall performance of your HVAC system. An ill-fitting filter can allow unfiltered air to pass around the edges, diminishing the air quality and putting additional strain on the system. Here’s how to ensure you find the right size filter for your HVAC system:

  1. Check the Existing Filter: The simplest way to determine the correct filter size is to check the dimensions of the current filter installed in your system. Most filters list their size on the frame in inches, such as 16x25x1.
  2. Consult Your HVAC Manual: If you don’t have an existing filter to reference or if you suspect it’s the wrong size, consult your HVAC system’s manual. The manufacturer’s manual should clearly indicate the recommended filter type and size.
  3. Measure the Filter Slot: If all else fails, you can measure the filter slot yourself. For precise measurements, use a tape measure to determine the slot’s length, width, and depth. It is recommended to measure twice. For accurate measurements, use a tape measure to determine the length, width, and depth of the slot. It is recommended to measure twice.
  4. Understand Filter Ratings: Besides size, it’s important to consider the filter’s MERV (Minimum Efficiency Reporting Value) rating, which indicates how effectively it can trap particles. Filters with higher MERV ratings can capture smaller particles, improving indoor air quality. However, very high MERV ratings may restrict airflow, straining the HVAC system, so it’s essential to strike a balance or consult with a professional.
  5. Consult Professionals: When in doubt, professional advice can be invaluable. DFW Electrician & HVAC experts can provide tailored recommendations for optimal efficiency and air quality.

Conclusion

HVAC filters are essential for maintaining air quality and efficiency of your home’s HVAC system. Choosing the right size and maintaining filters can improve your health, comfort, and finances. Remember, regular replacement or cleaning of your HVAC filter (depending on the type) is just as important as choosing the right size, as a clogged filter can negate all its benefits. For those seeking professional guidance or services, DFW Electrician & HVAC stands ready to assist, ensuring that your HVAC system remains a source of comfort and efficiency in your home.